How to Apply Self Tanner: 12 Step-by-Step Guide
Ah, self-tanner. It's the beauty product every girl develops a love/hate relationship. Apply self-tanner correctly and you'll be left with a natural looking tan! But if the application goes awry, you could be left with streaks, patches, or an orange Oompa-Loompa color that every self-tanner newbie dreads. Faking it is far easier than you think and rather inexpensive. Yes, self-tanning can be intimidating (and no one wants Cheetos hands), but it costs just pennies on the dollar to do it yourself. Without further ado, I am giving you the low-down on how to apply self tanner without turning orange or streaks. Follow them closely and avoid being caught tan-handed with two telltale orange-y palms.
SHOP MY SELF-TANNERS

How to Apply Self Tanner for a Streak-Free Finish
When it comes to putting on self-tanner, there are a few steps you should always follow. Use the below steps as a guide to help apply self-tanner for a streak-free, bronzed finish.
Step 1. Choose the right product for self-tanning.
As a newbie, I would start with Loving Tan 2-hr express mousse with Instant Bronzer showing where you apply and it develops in 2 hours.
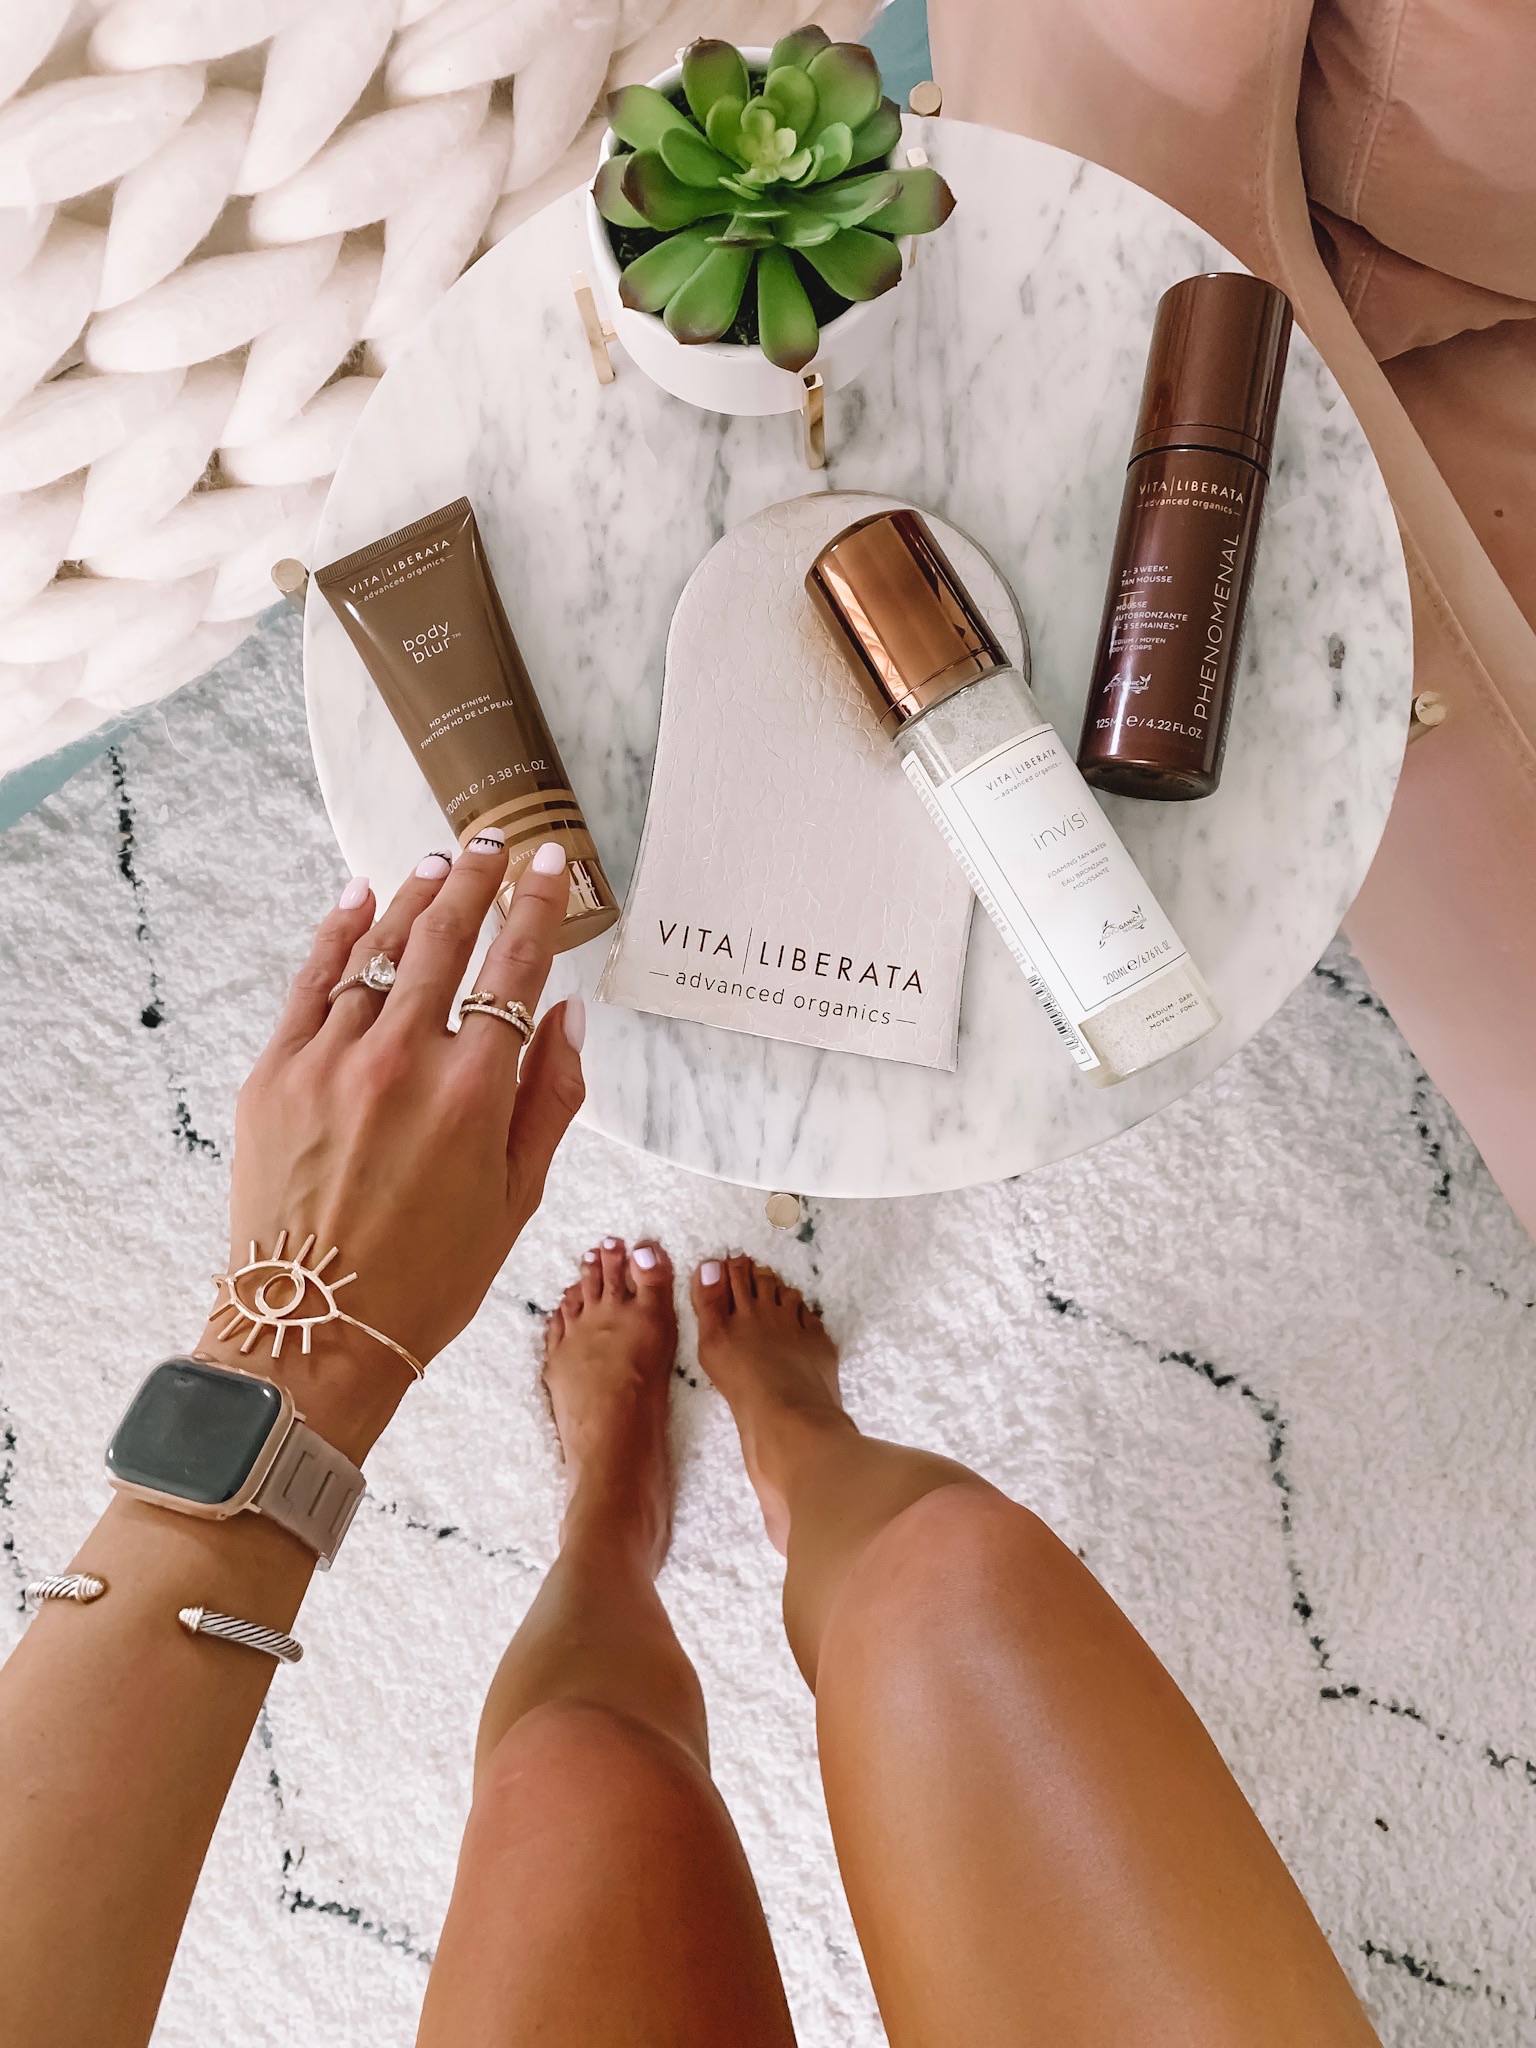
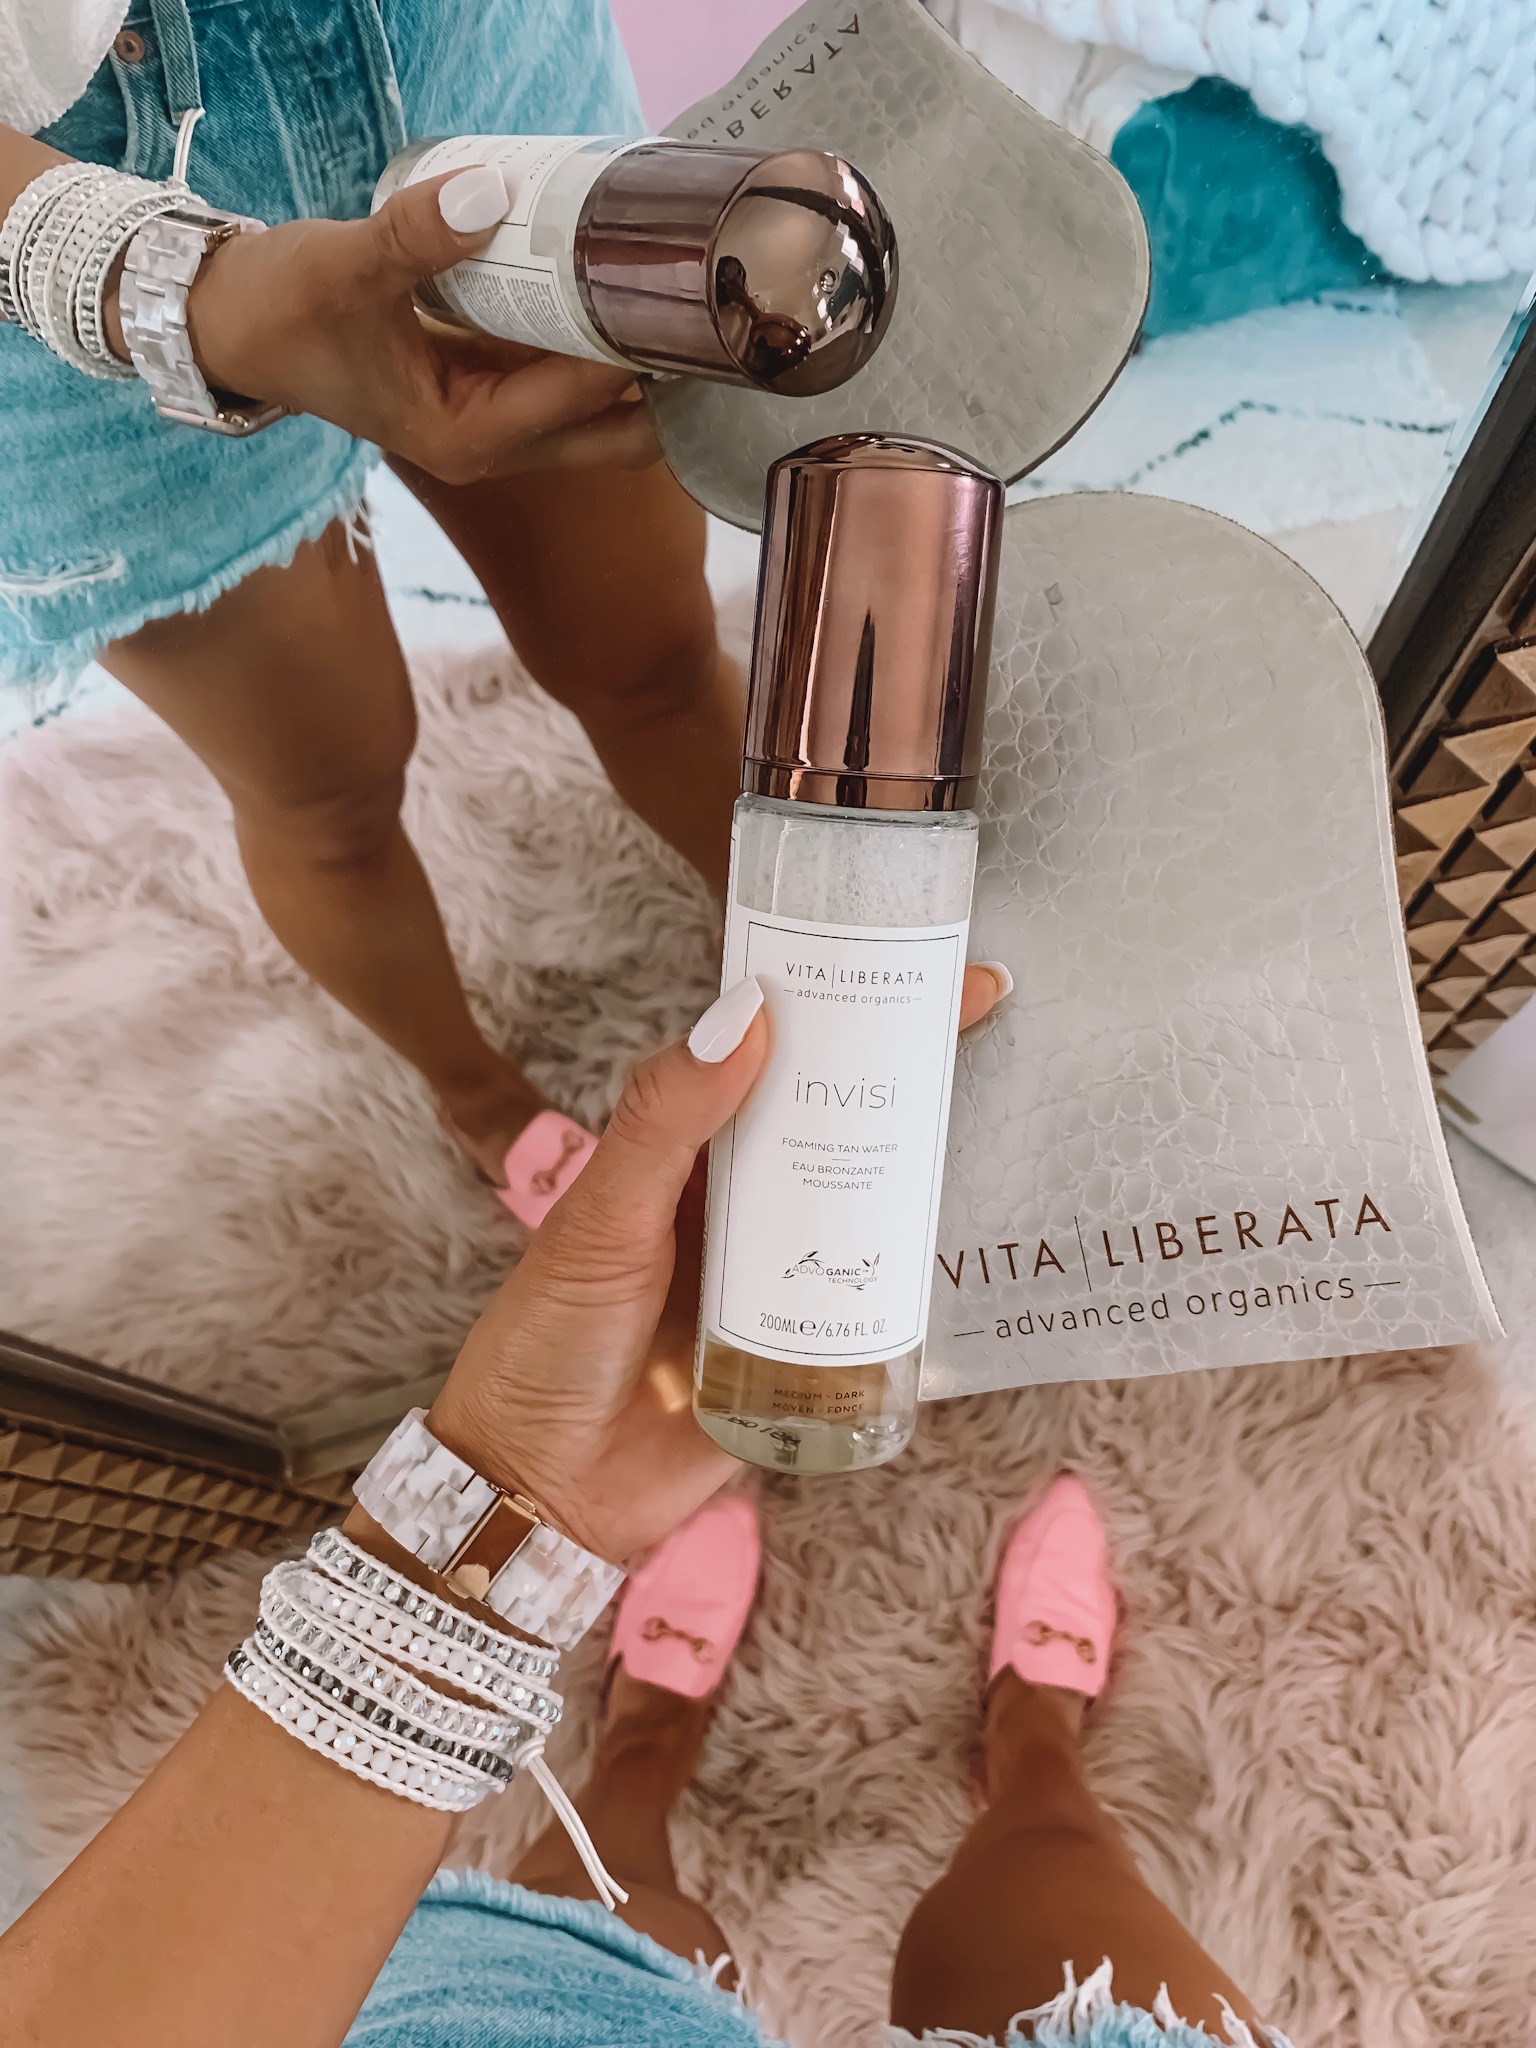
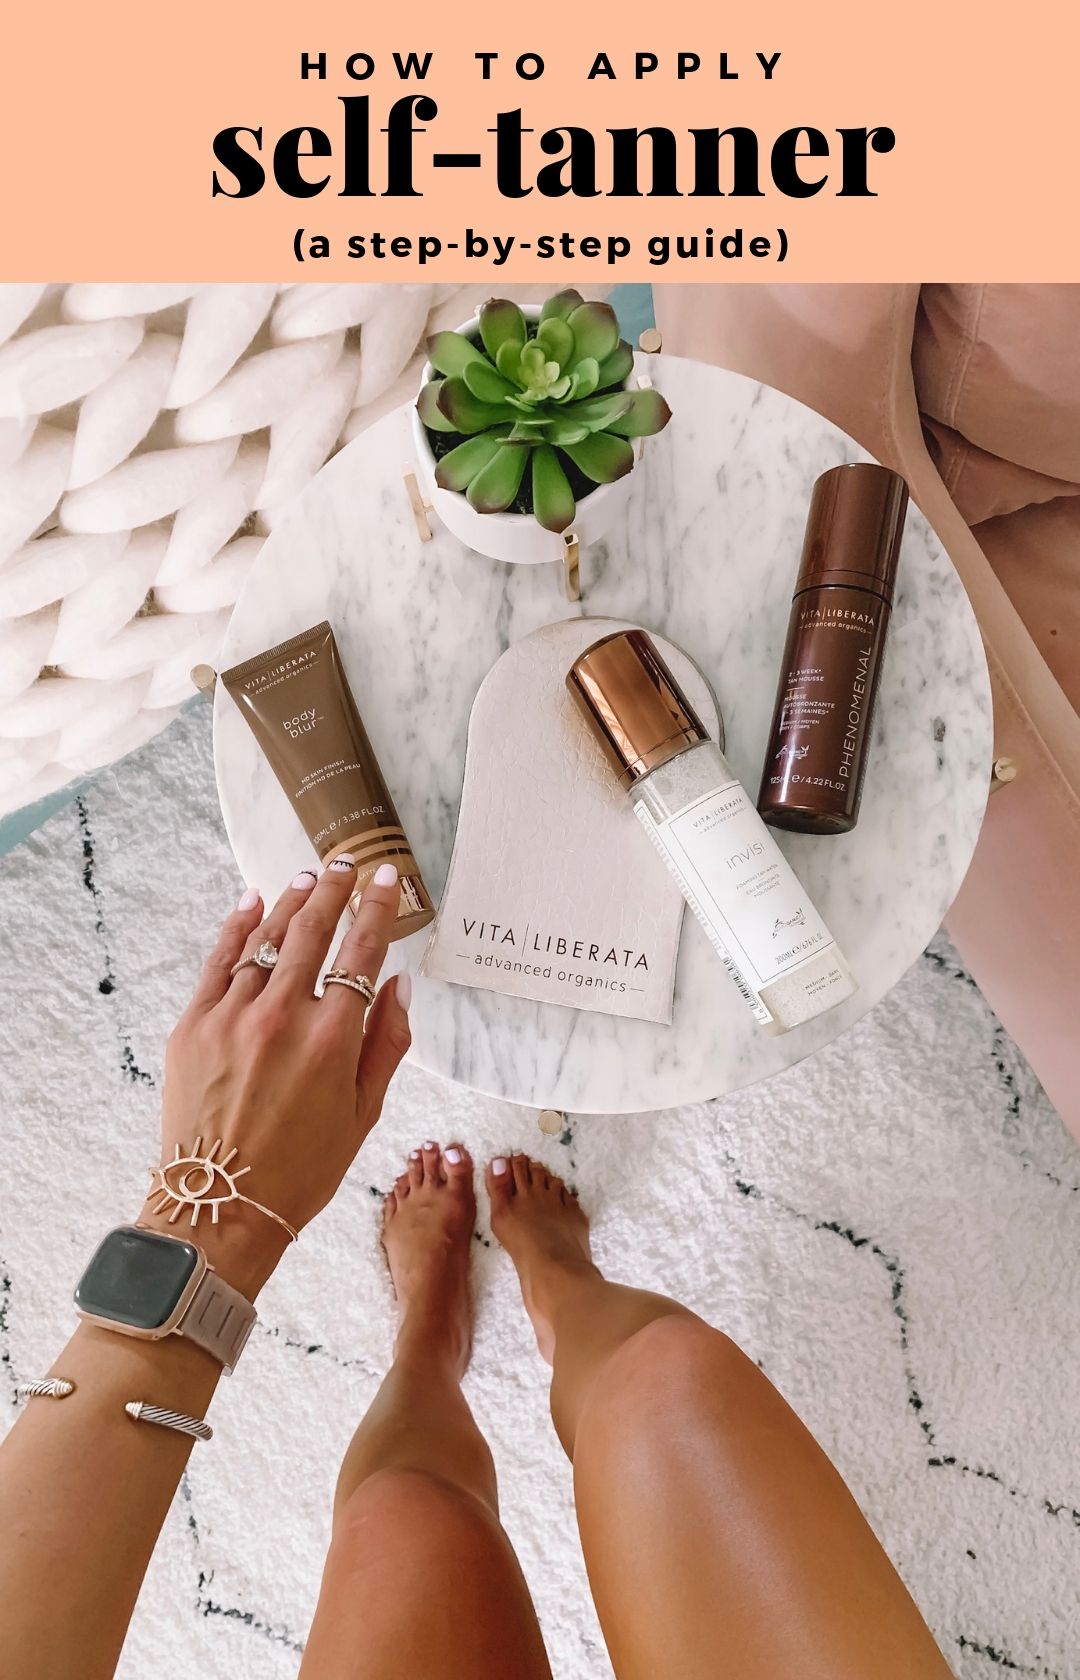
I have tried quite a few self-tanners and the Vita Liberata Invisi Foaming Water Mousse is my favorite self-tanner. The color is gorgeous and it lasts the longest! It is also organic so you can tan all year long! This one does NOT have a "guide" aka bronzer so you don't have to worry about transferring. Many people have commented on my tan and can't believe it isn't real. My best friend saw my tan and bought this the next day to use and she loves it! Just make sure you apply enough and all over to avoid streaks since it is "clear".

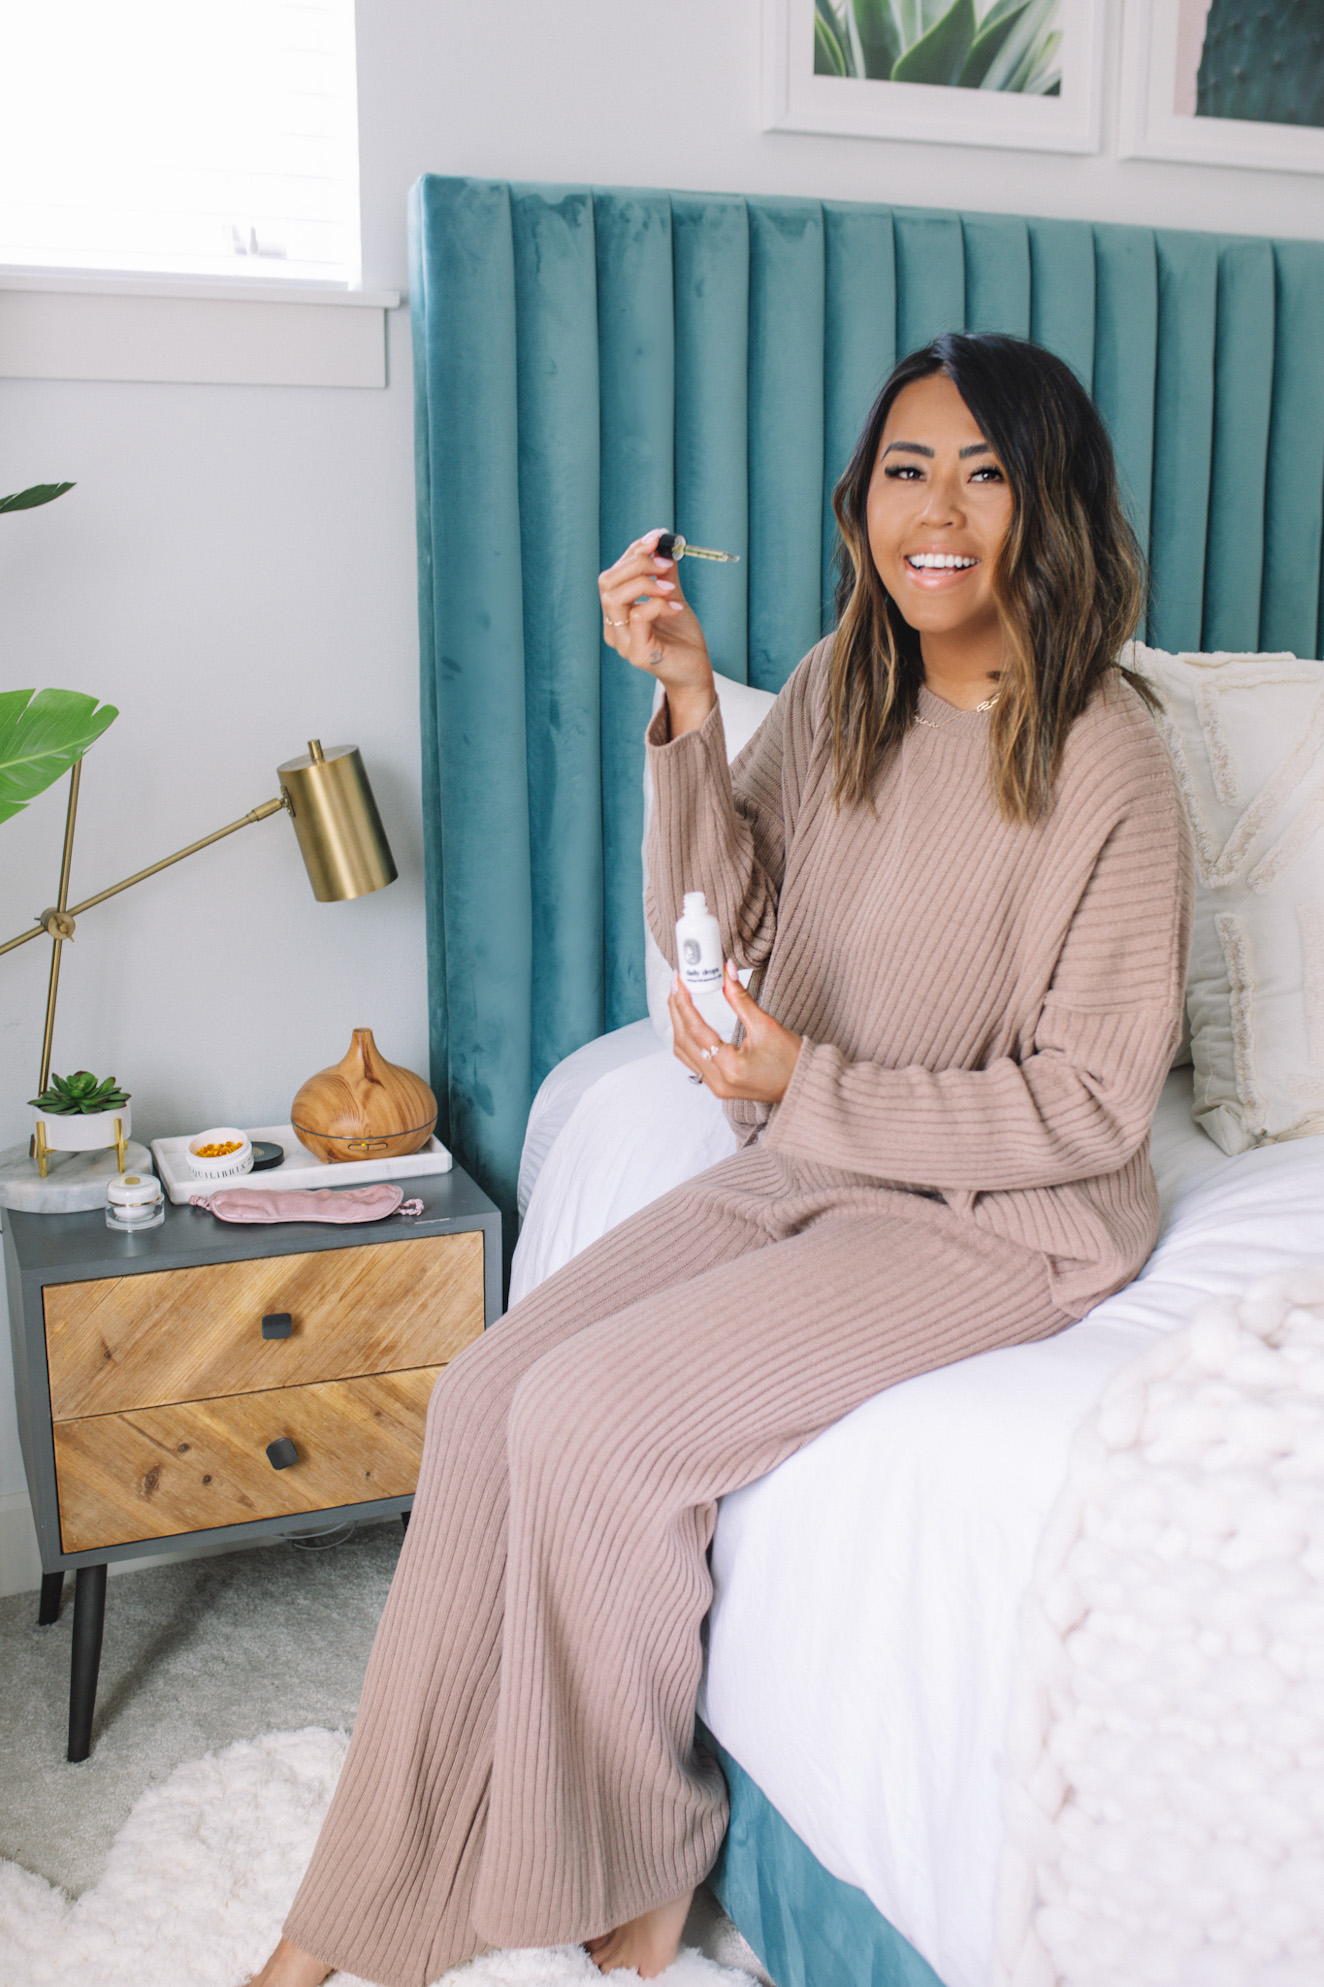
FACE SELF TANNERS: When it comes to tanning your face, the less the better! There are a lot of self-tanners out there formulated specifically for the face but I love THE FACE Illuminating Self-Tan Drops. I add about 4-5 drops to my face oil/moisturizer before going to bed and wake up with glowing skin!! You can read about my skincare routine here. It doesn’t break me out (I’m sensitive oily acne prone), it gives you a flawless beautiful natural tan and it works. It does not stain my pillows and has a pleasant scent. Remember to wash your hands again after applying!
I also heard Isle of Paradise Self-Tanning Drops are great!

Step 2. Start your prep the night before.
Exfoliating is the key to getting the most natural looking even tan! So the night before you apply, use an exfoliating mitt scrub with a sugar or salt product without oils. And if you need to shave, make sure to do so at least four hours before you apply your self-tanner. This will prevent tiny droplets of self-tanner from getting in the follicles where you have shaved the hairs (it will look like little brown dots on your legs - yikes!). I use Billies $9 razors and they are amazing!

Pro Tip #1: If you forget to shave and need to shave right before applying self-tanner, then use ICE CUBES and rub it all over where you shaved to close the follicles!
Step 3. Create a barrier.
Right before application, apply lotion to your hands from your wrist to your fingertips, on the backs of your heels, and on your elbows and knees. These areas tend to be dry and will absorb more pigment than other areas of your body, causing unevenness.
Pro Tip #2: If you have large pores or dry skin, you should also apply a moisturizer on your face 20 minutes before applying your self-tanner.
Step 4. Always use a tanning mitt.
This will protect your palms from turning 'orange'. The palms of your hands don't naturally tan, so if you get self-tanner on them it'll be a dead giveaway that your tan came from a bottle! I like having an extra pair (be sure to rinse off mitt between tans). Love these from Amazon ($4.99).

This mitt out beats all the sunless tan mitts I've ever used in the past. This gives you a very smooth and quick application because of its smooth and durable surface. The mitt' s exterior has this soft velvety finish and not spongy that's why it applies the sunless tan lotion smoothly and evenly.
Step 5. Apply in sections.
Start from the bottom and work your way up. Apply the self-tanner in sections (such as the legs, then the torso, back, followed by the arms and than your hands last). Massage the self-tanner into your skin in a circular motion. (Check my IG highlights for video tutorial).
Step 6. Save your hands and feet for last.
Finish with the backs of hands and tops of feet. Apply tan sparingly, just use the extra solution on the mitt once the rest of your body is done. To apply tanner in your knuckle creases, bend your fingers so your hand looks like a claw. Think about it: You don't walk around with your fingers straight all day long, so make sure you're covering all the nooks on your body that might show when you move around.
Pro tip: Apply some lotion as a barrier around your cuticles. Then put your hand in a claw-like position to stretch out the fingers and sweep the mitt from the top of the wrist over the hand and fingers to your nails. From here, gently press the mitt using a tapping motion all over your knuckles, fingers, and hand to add any extra coverage missed on the first sweep.
Step 7. OK, now fine-tune your tan.
Dilute the self-tanner on the knees, ankles, and elbows, because these areas tend to absorb more self-tanner than the rest of the skin. To dilute, lightly rub those areas with a damp towel. You’re not wiping it off, you’re just taking a little color away because the skin on these areas is drier and can result in a darker fade if you don't dab them after. Trust me, this trick will work wonders!!
Step 8. Next, wash your hands thoroughly!
I can’t stress this enough. Your hands may look fine, and then 4 hours later they’re all dark. Scrub the palms of your hands with an exfoliator or this tan remover soap after you've finished applying your self-tanner.
Scoop a small amount of the scrub onto the middle of your palms and gently rub your hands together. Do this even if you use a mitt to apply your tanner! Trust me on this!!
Step 9. Blot to avoid spots.
Pro Tip: Before you dress, dust areas that tend to get sticky— armpits, cleavage, the inside of your elbows, behind your knees, between your thighs, etc.—with talc-free baby powder. It’ll keep skin dry and prevent any creases from forming. This is especially important if you live somewhere hot. Try Burt’s Bees Baby Bee Dusting Powder.
Step 10. Give your skin time to dry.
Wait at least 15 minutes before getting dressed (or use a hair dryer to dry yourself to speed up the process). For the next four hours, it is best to wear loose clothing and avoid sweating.
Step 11. Wait at least 8 hours till you shower!
These products work best when you leave them on at least 8 hours up to 24 hours! If you tan at night and the product has a “guide” or “bronzer” to it, you may want to put some towels down on your bed before getting in. It’s a pain, but with some products, it’ll get all over the place if you don’t (especially those that come out of the bottle super dark). That is why I like the Invisi Foaming Water because it is clear!
Step 12. Finally, you can rinse off and moisturize!
When you first shower, DO NOT use any bar soap or harsh soap! I love Native's gentle sulfate-free body wash! The Rosé one smells so good and it does not strip away your tan! Once you’re done showering, pat dry (don't rub hard), and moisturize!
Use lotion immediately after you rinse off! The ingredient DHA (what tans you) tends to dry out your skin. I can’t stress enough how important it is to moisturize the skin twice a day to hold on to your tan and lock in your color. If the skin is dry, the tan has nothing to bond with, and everyone’s worst fear of a blotchy spray tan then occurs! I love Raw Sugar Cold Pressed Body Lotion.
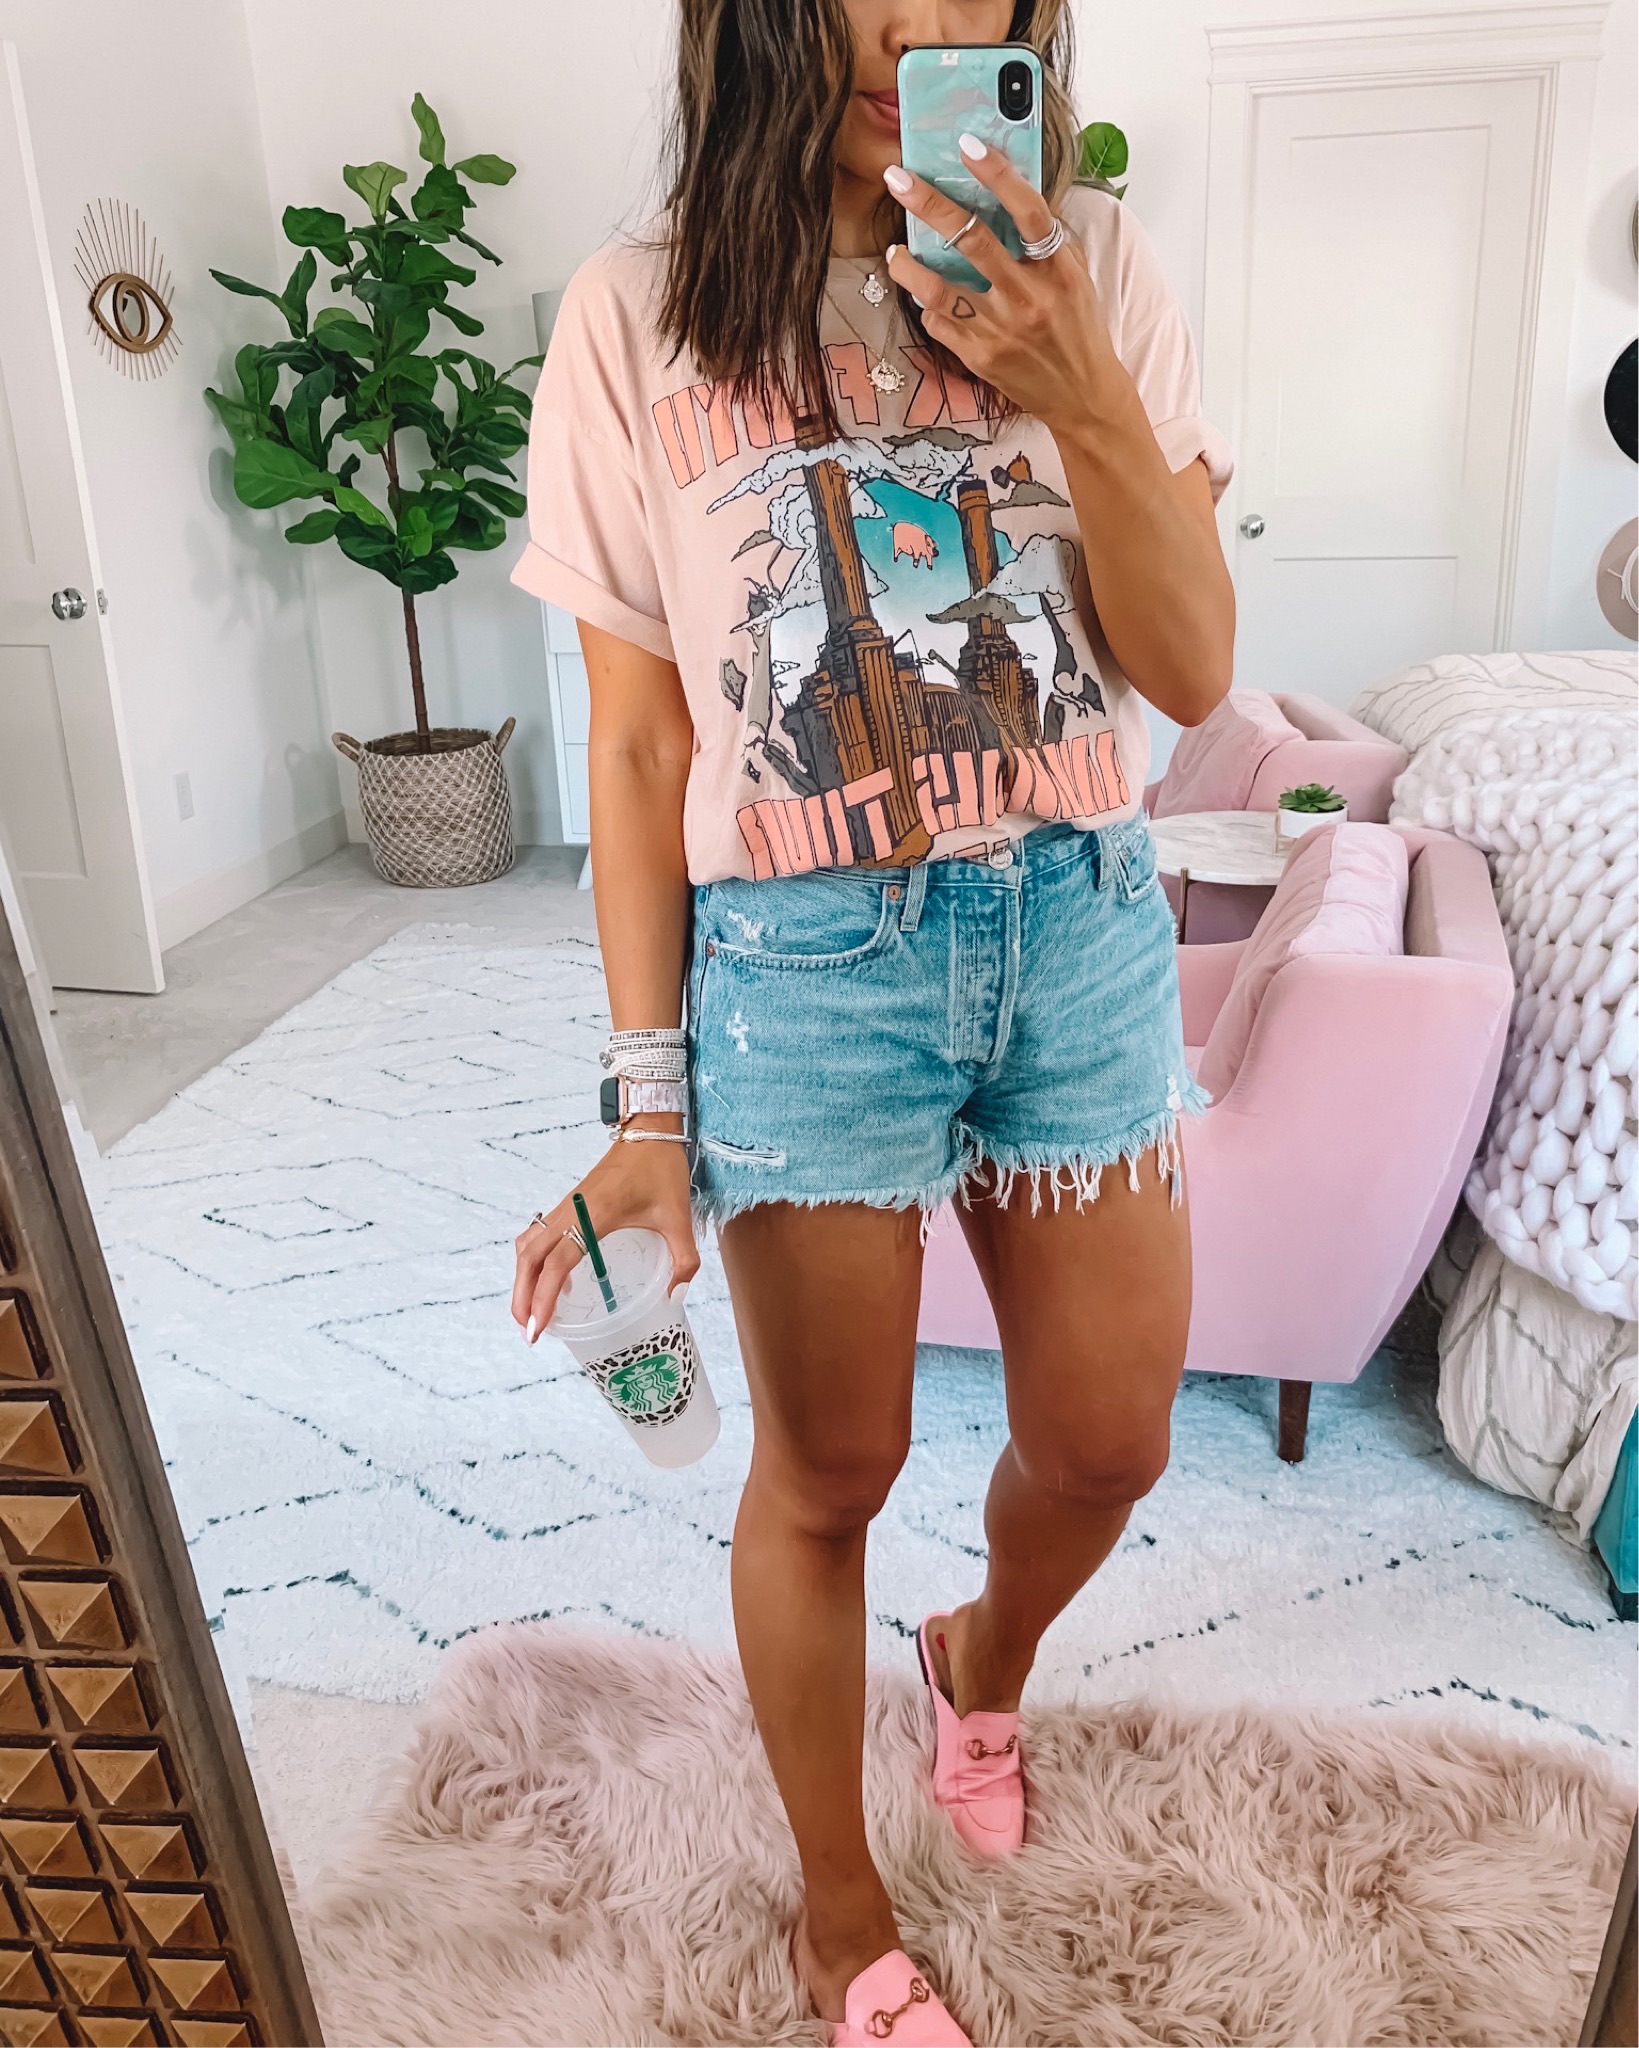
If you want to have that just kissed from the sun look this summer without putting your health in danger, follow those self tanner tips on how to apply self-tanner so that it's even, and more importantly, so it lasts! Hope this was helpful!
Shop The Post

Pin It!
© Sabrina tan
brand + web design by good on paper
