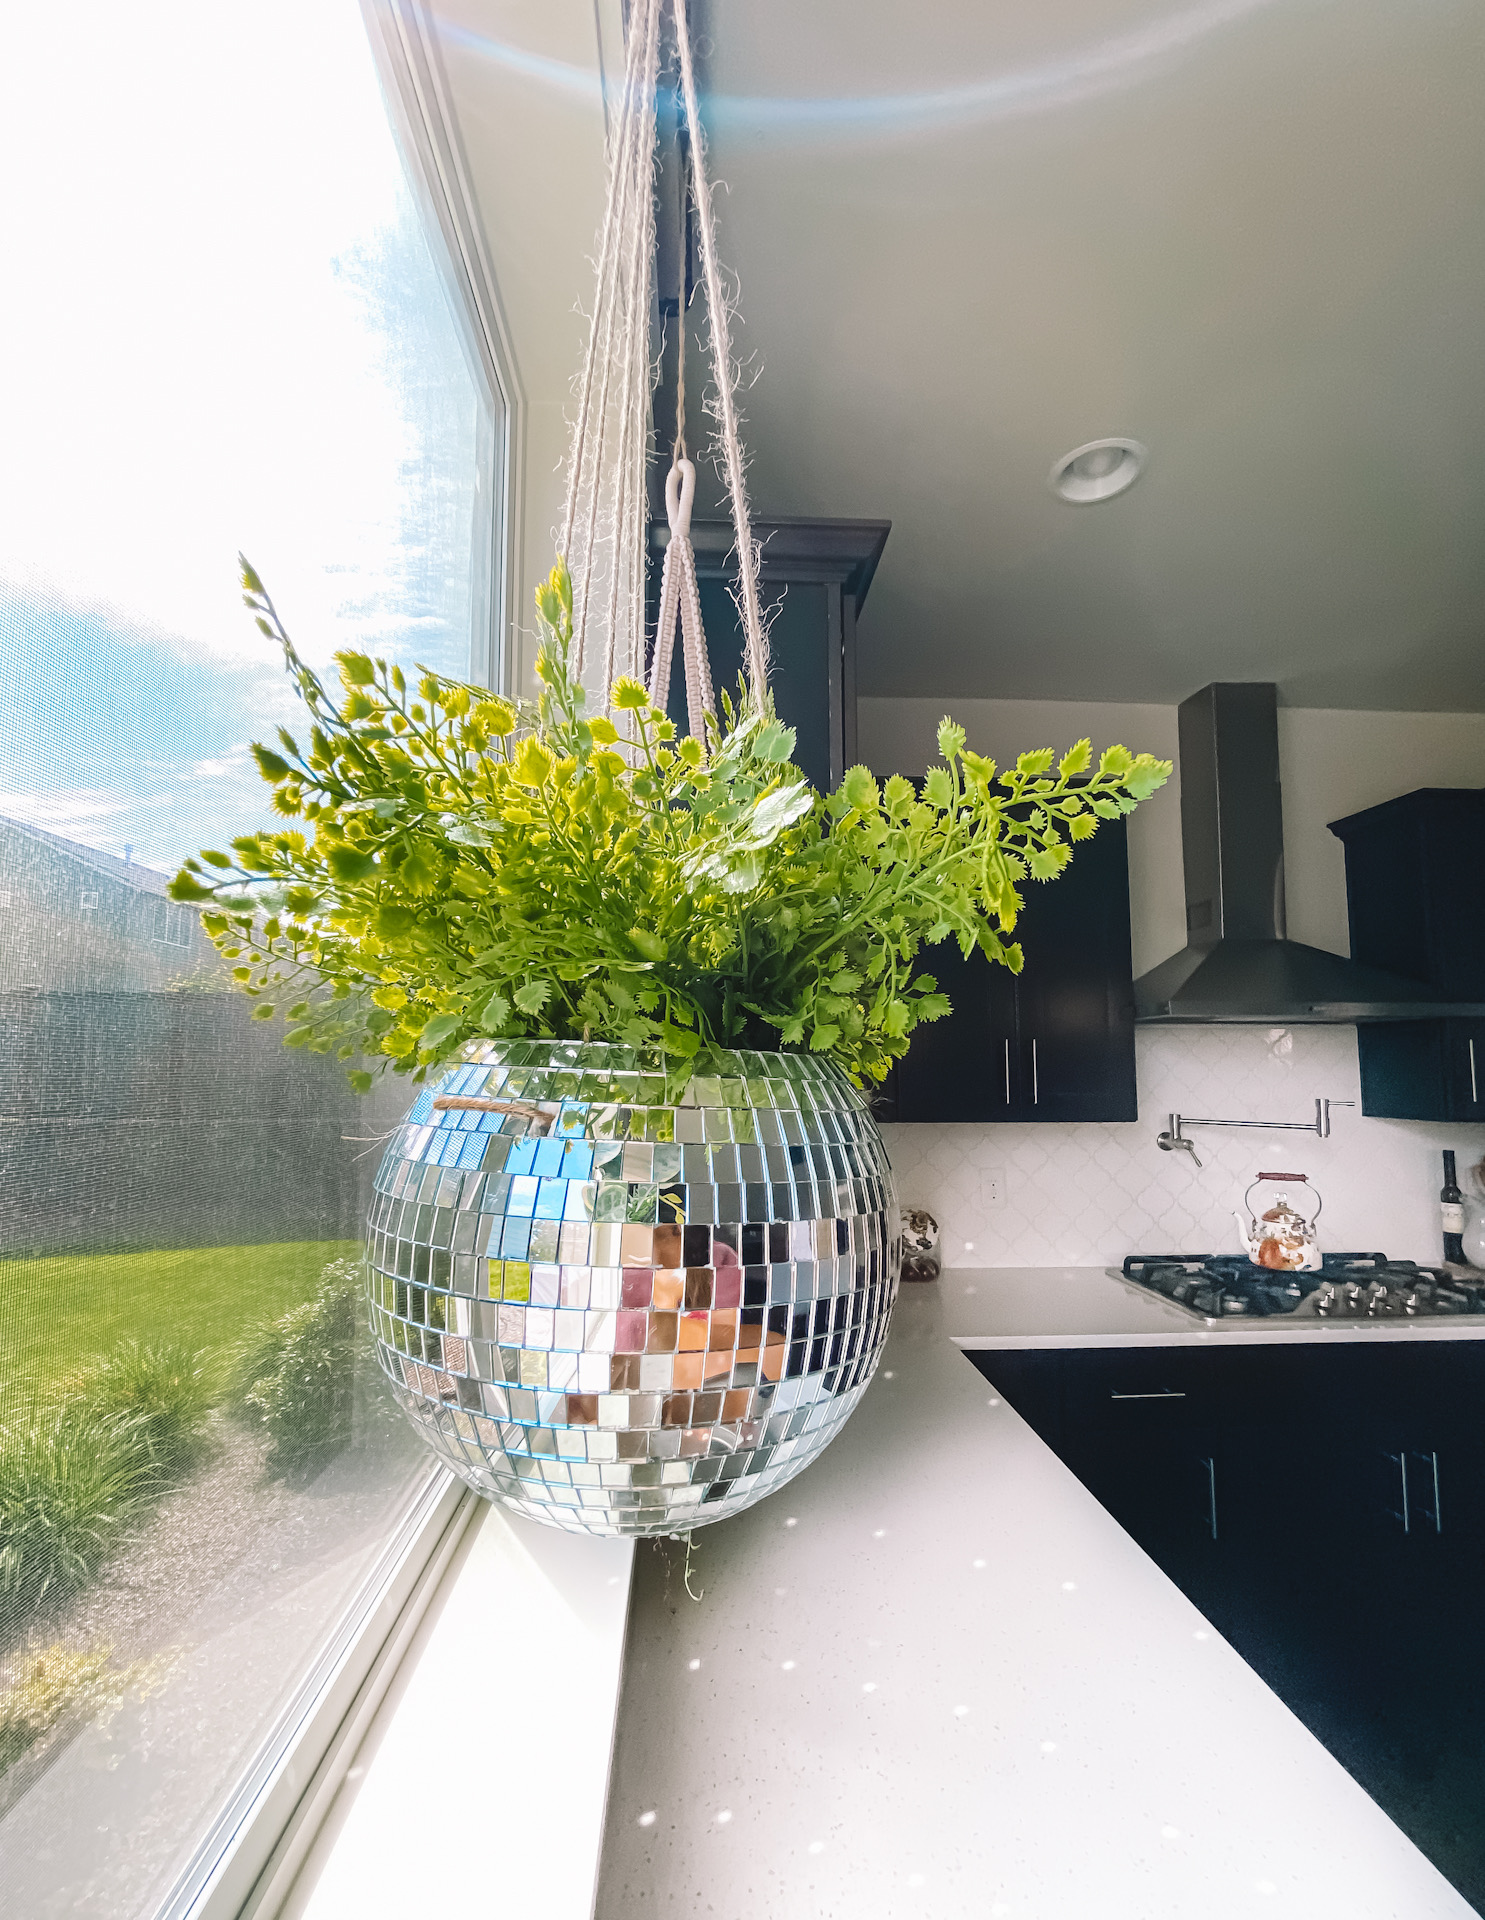
DIY Hanging Disco Ball Planter
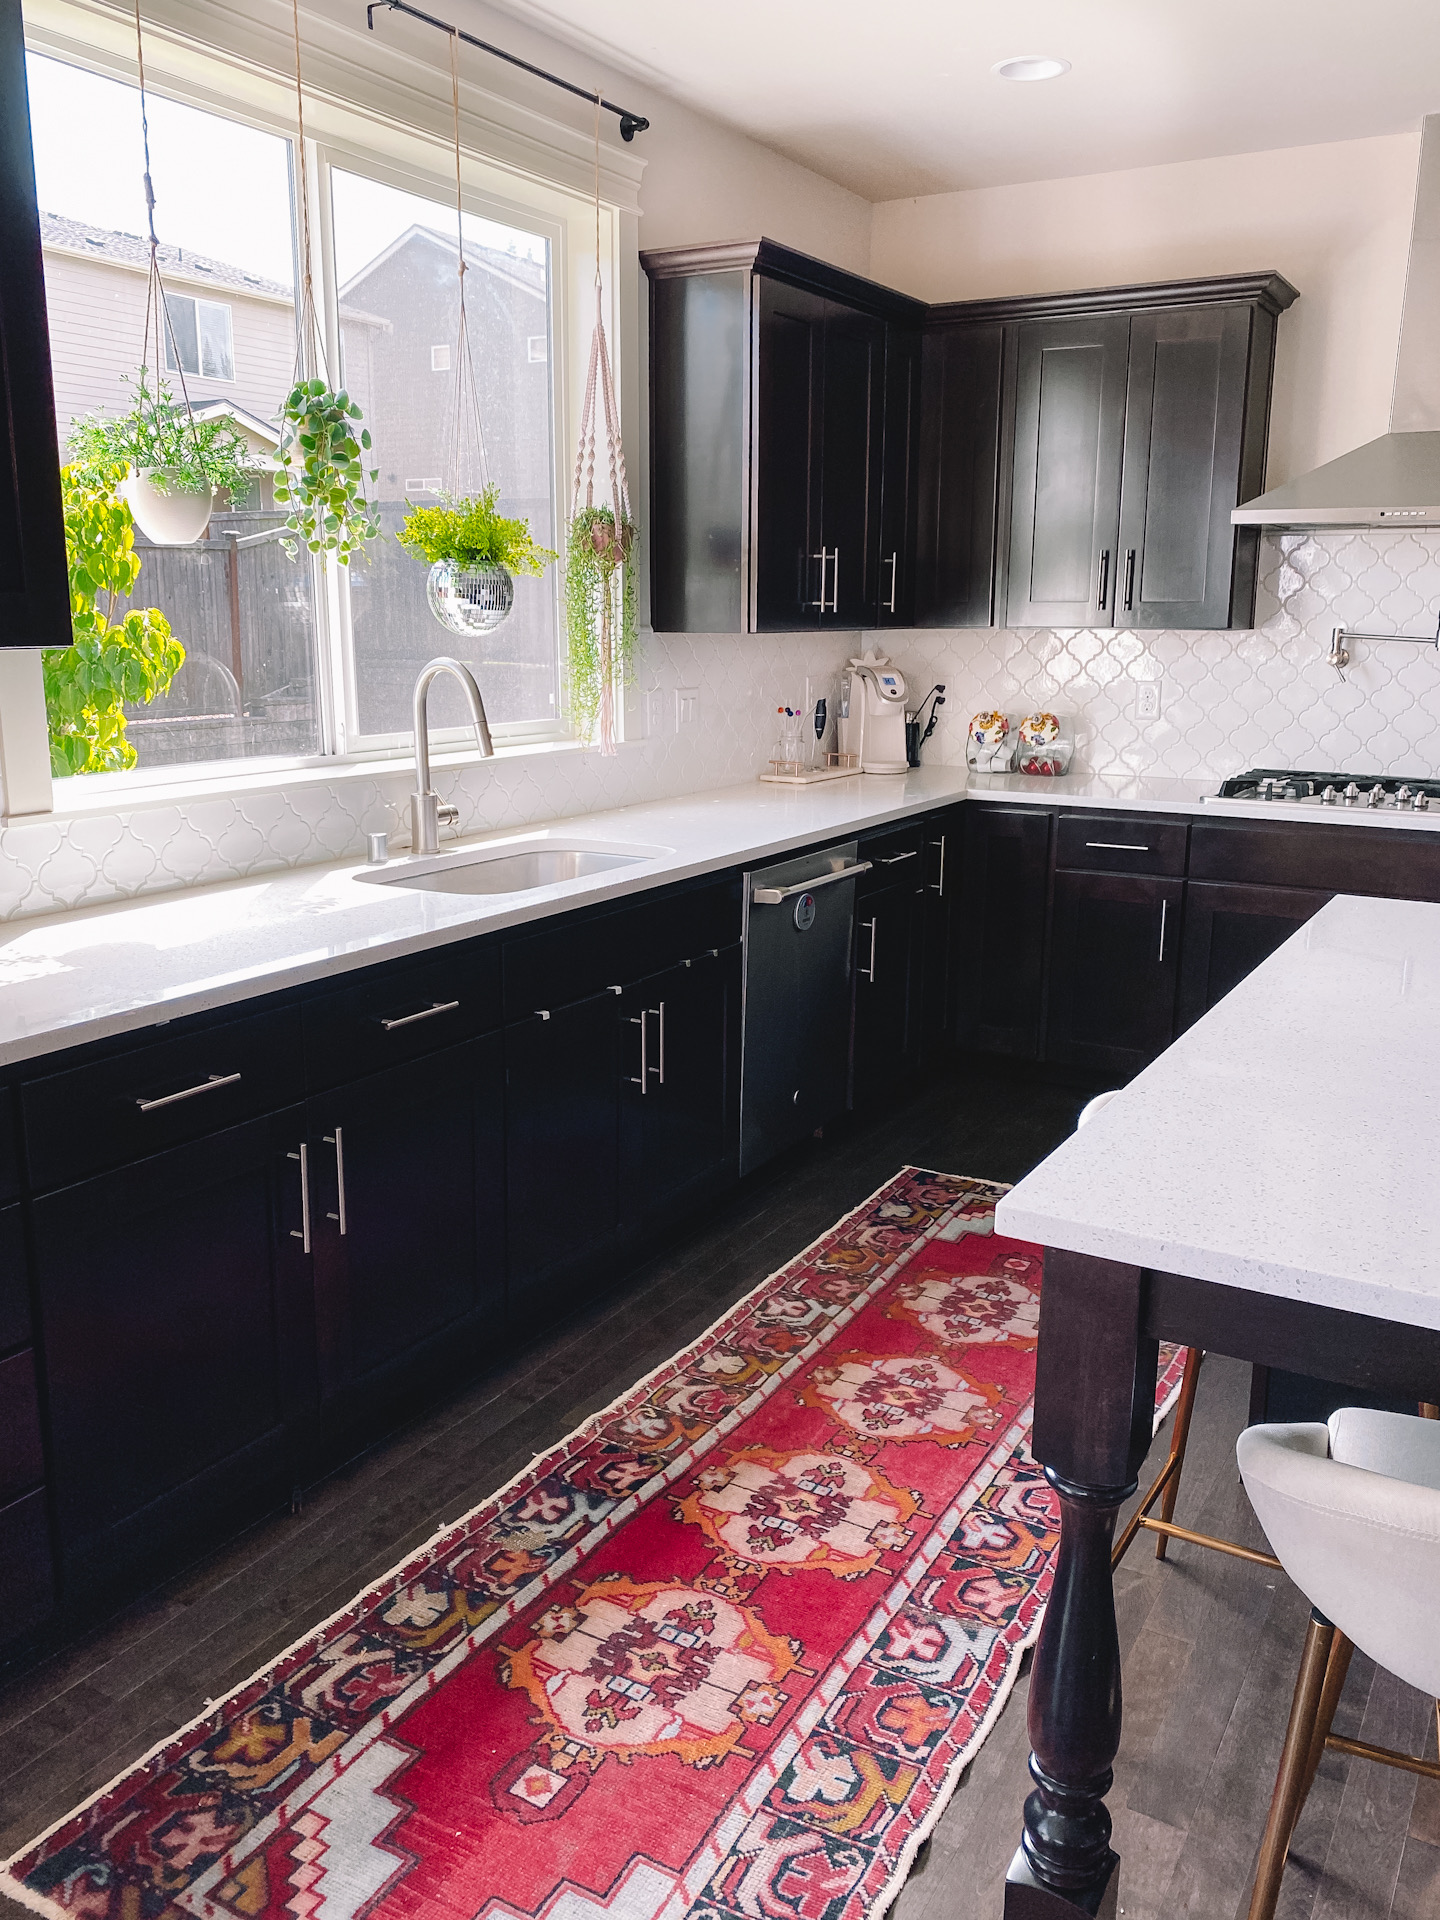
I was so tired of staring at our neighbor's house I wanted to find a temporary solution (since we live in a rental) and to showcase some plants to breathe new life into our home. Hanging planters are the perfect solution for adding lush, green interest and beauty to every nook and cranny of your house or apartment.
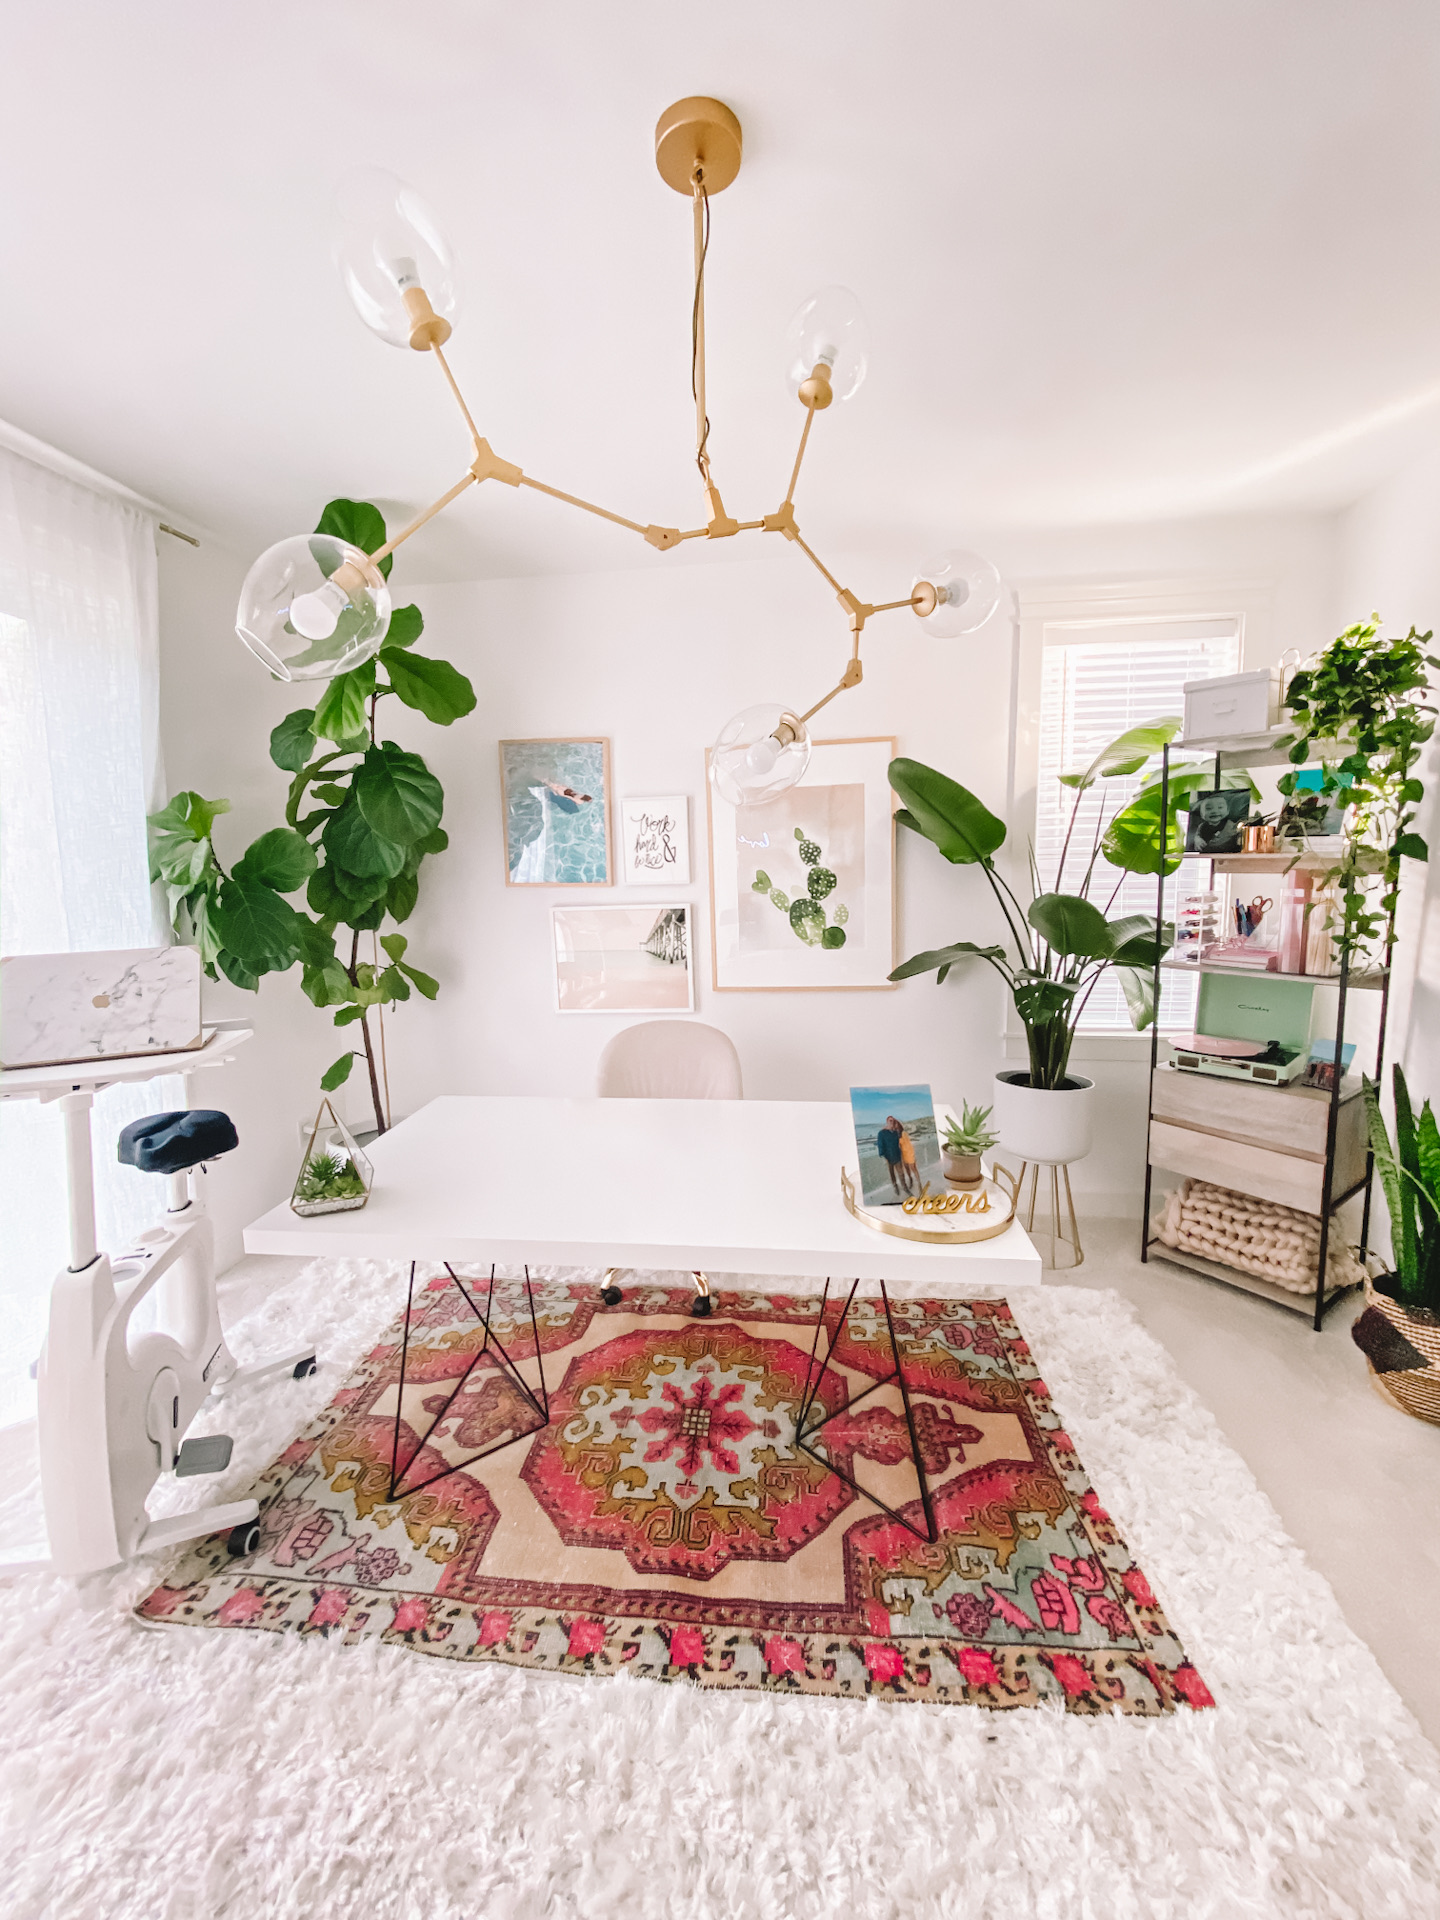
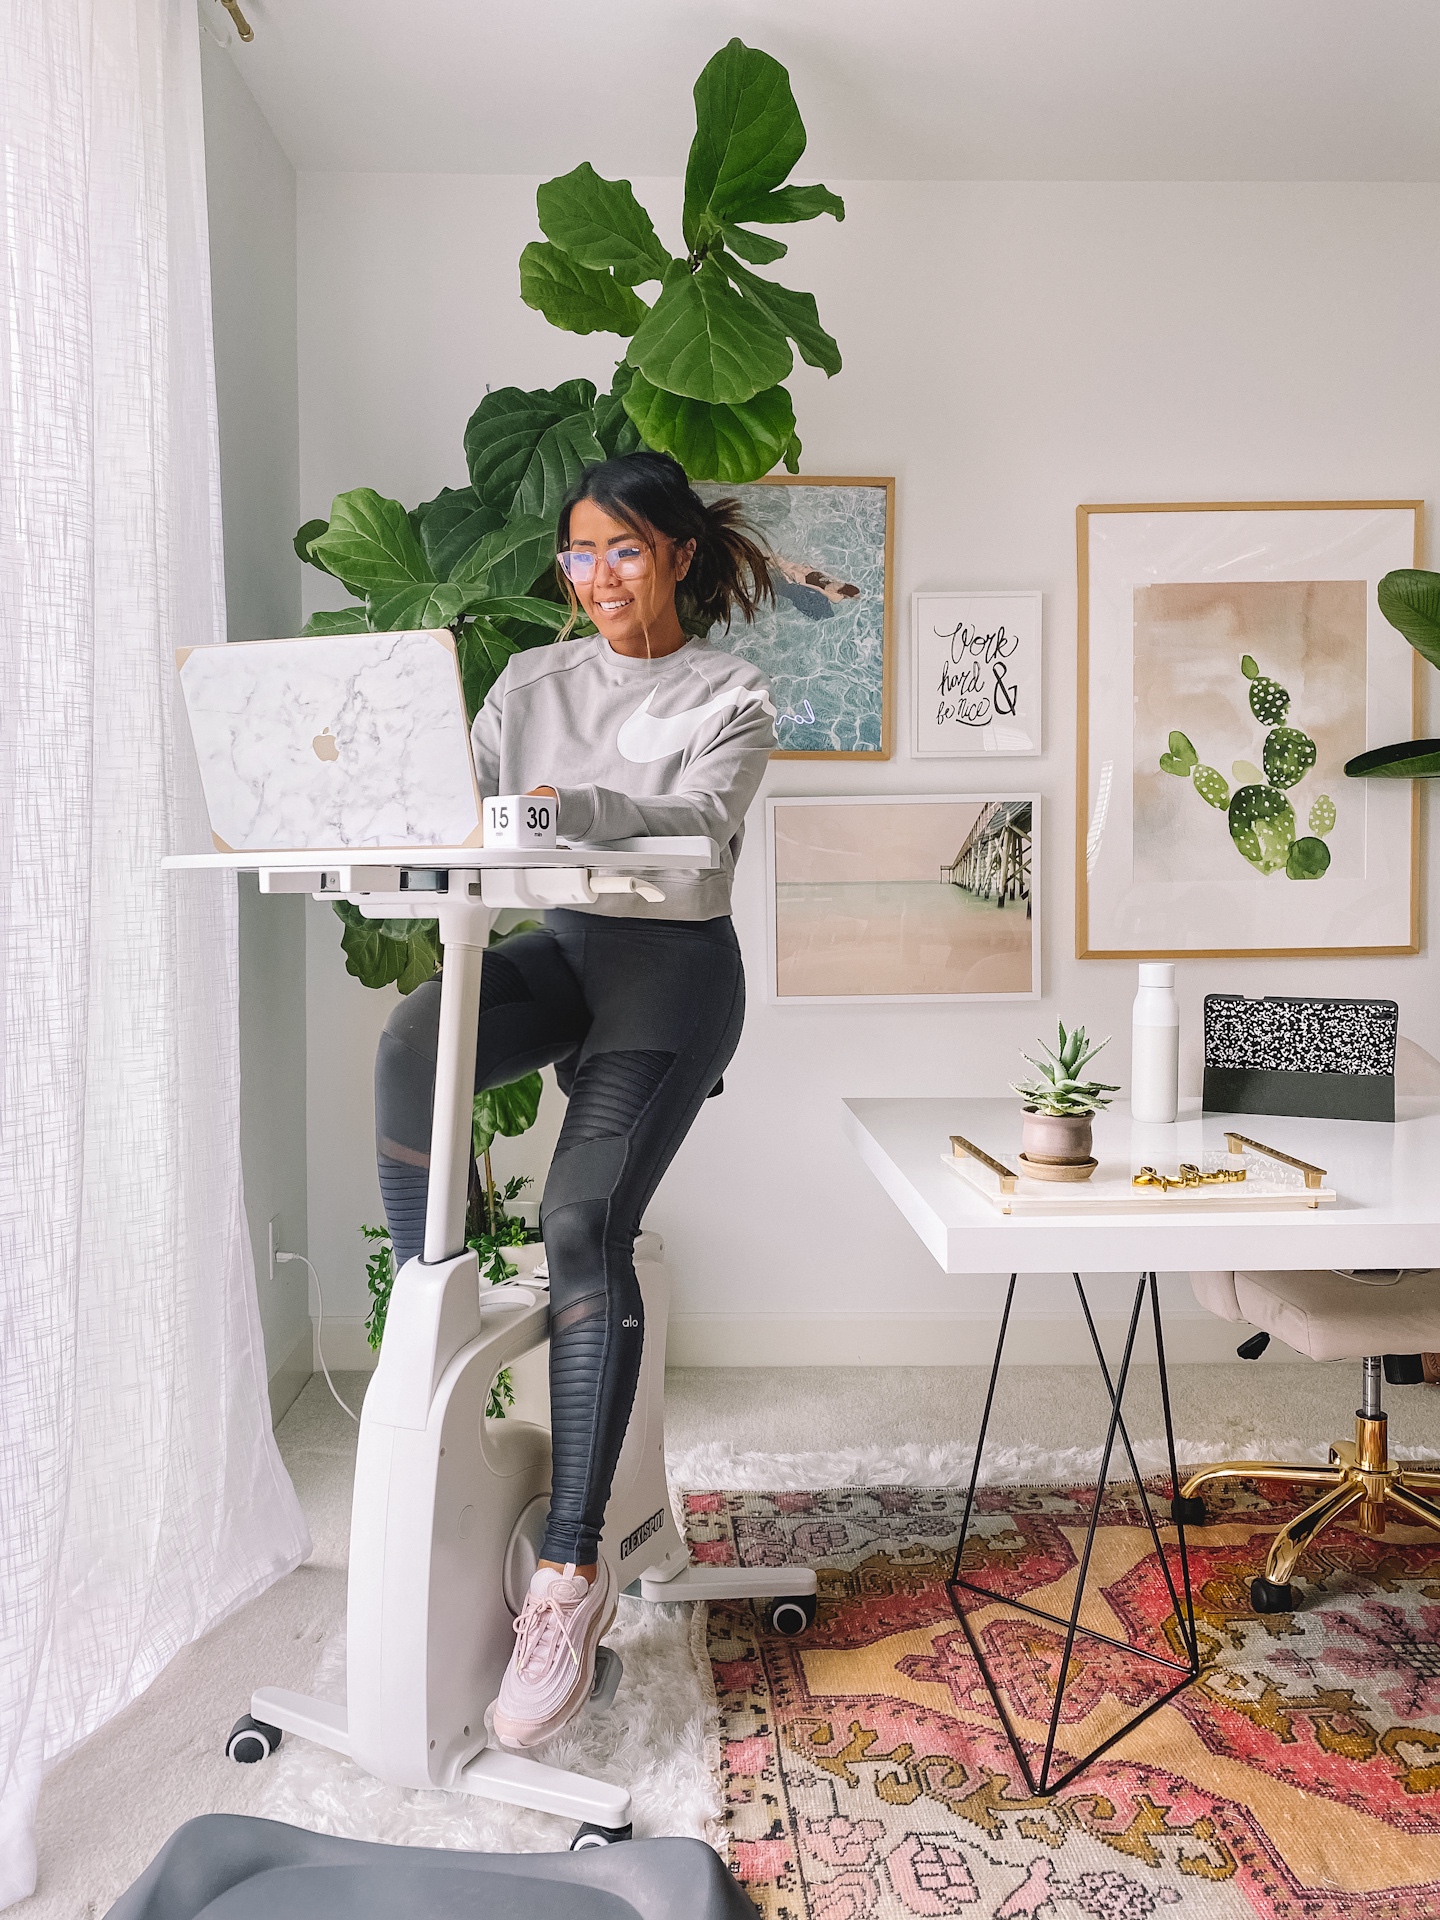
You guys already know I love eBay as I recently shared my work from home office updates. eBay again came through this time as it is the perfect one-stop-shop for tackling this new project I had in mind. I don’t have to go to big retailers to find the brands that I want. I can pick them up on eBay along with other items that I’m already looking for, like tools and workshop equipment for this DIY project. eBay has what you need to complete your projects, like the items I used for the DIY hanging planters!
Here are some tips for shopping on eBay:
Purchase Brand New
Did you guys know 80% of items on eBay are new? If you only want to see brand new items, you can filter your search by setting the “Condition” filter to “New”.
Buy It Now
I think a lot of people think that eBay only allows for bidding, but you can also purchase immediately with the “Buy It Now” feature on many items.
Free Shipping
eBay also offers free shipping on 72% of all items. I didn’t pay for shipping on any of the items I used to make the disco planter! With free shipping and great deals, most of the time I find the best deal on eBay, not to mention finding sold out items.
With those tips in mind, I made a list of things you’ll need for this project and can find on eBay...
DIY Disco Planter
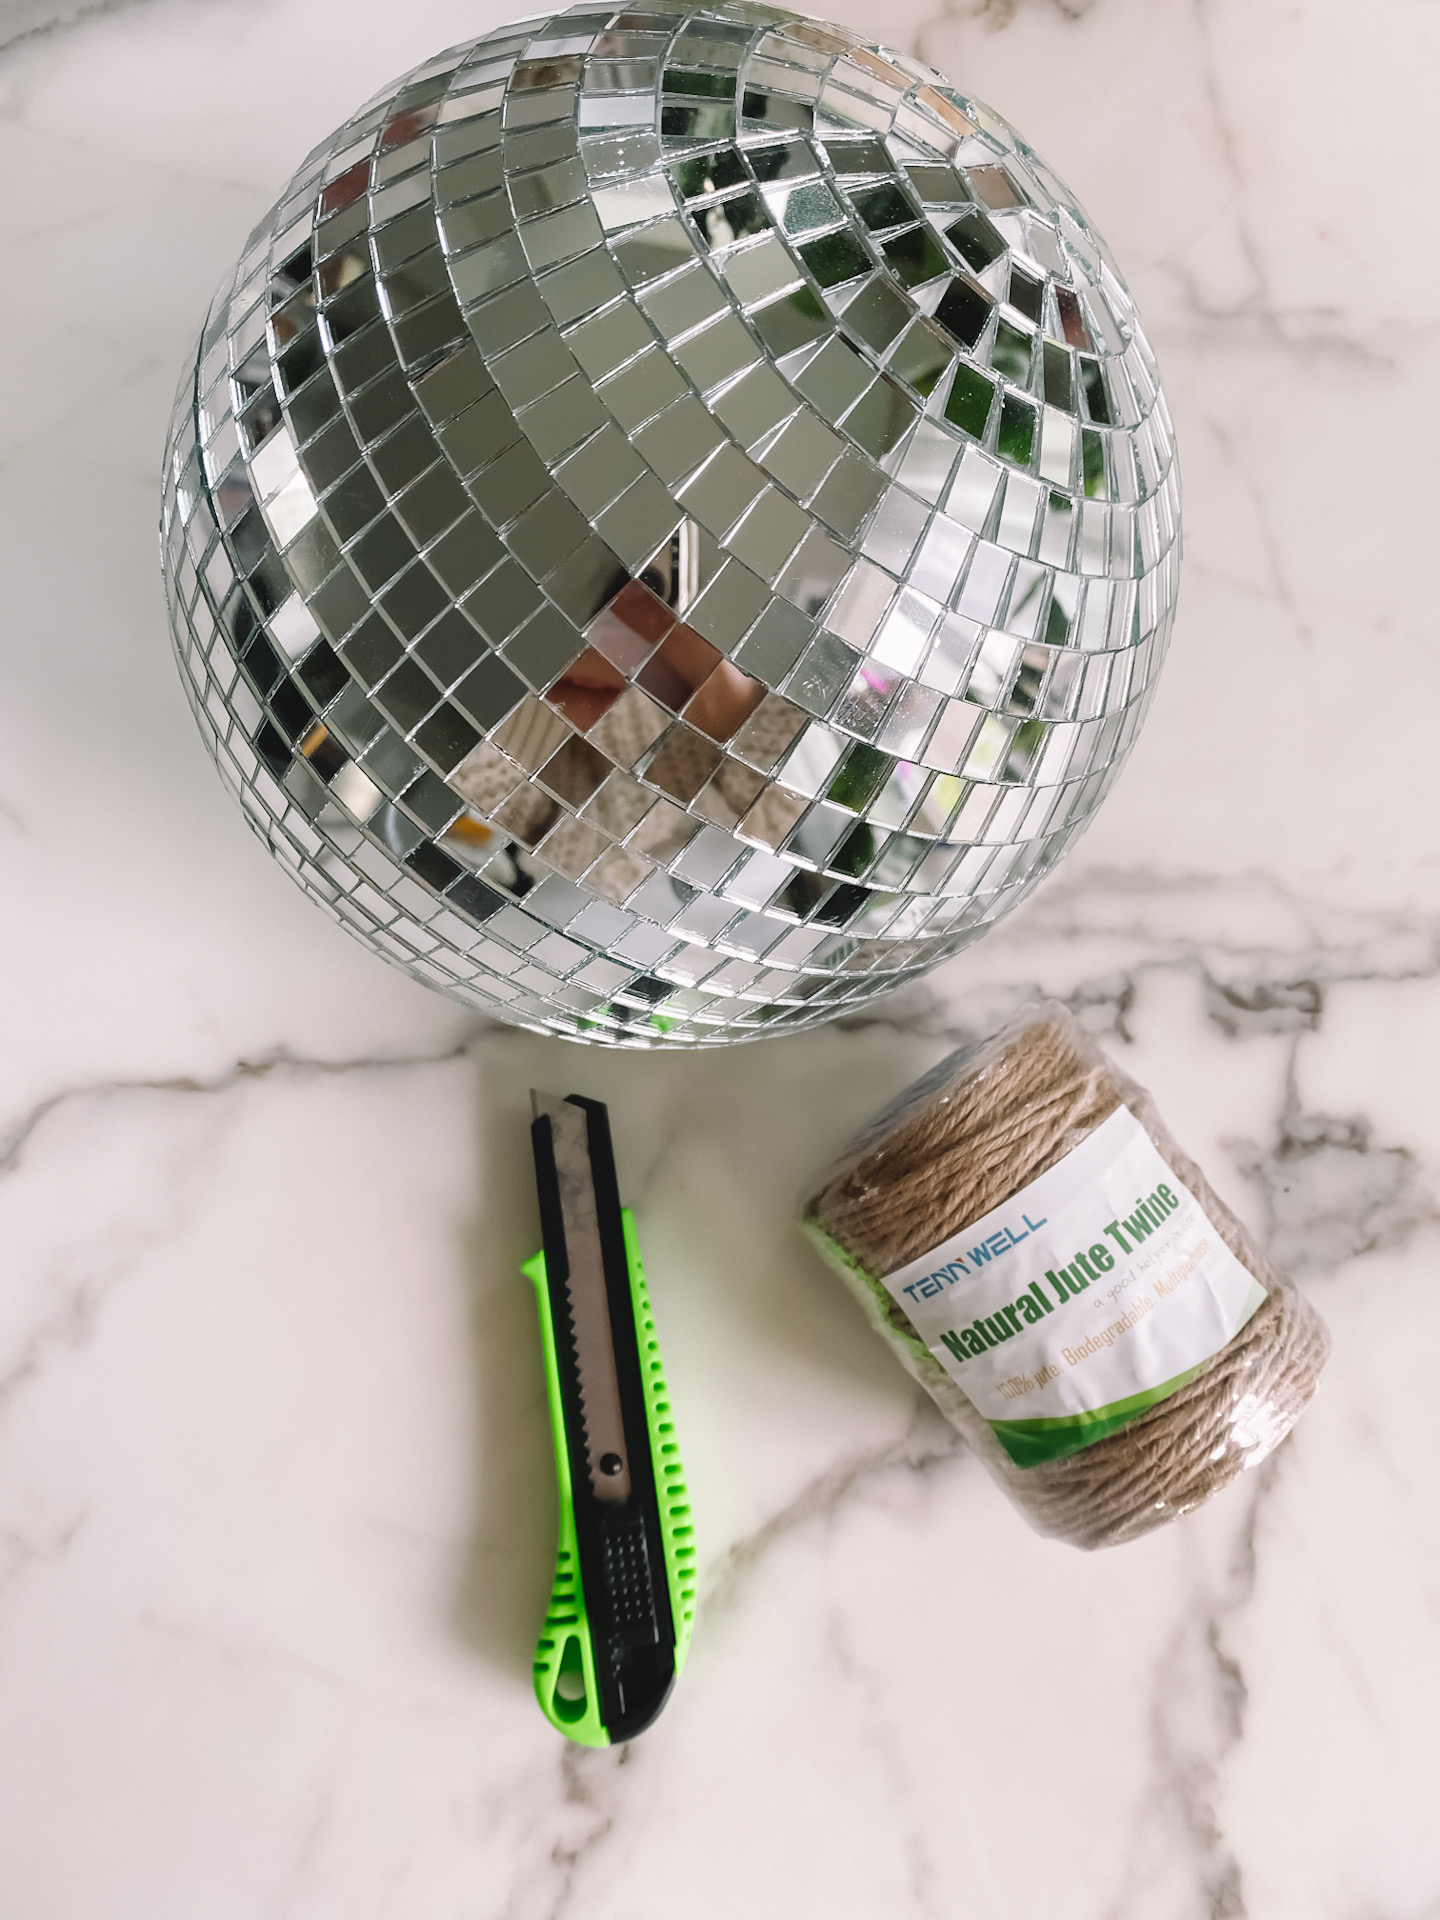
What You Need:
- 8” inch disco ball
- utility knife
- macrame cord or natural jute
- rod
- plants (I used faux plants for this project)

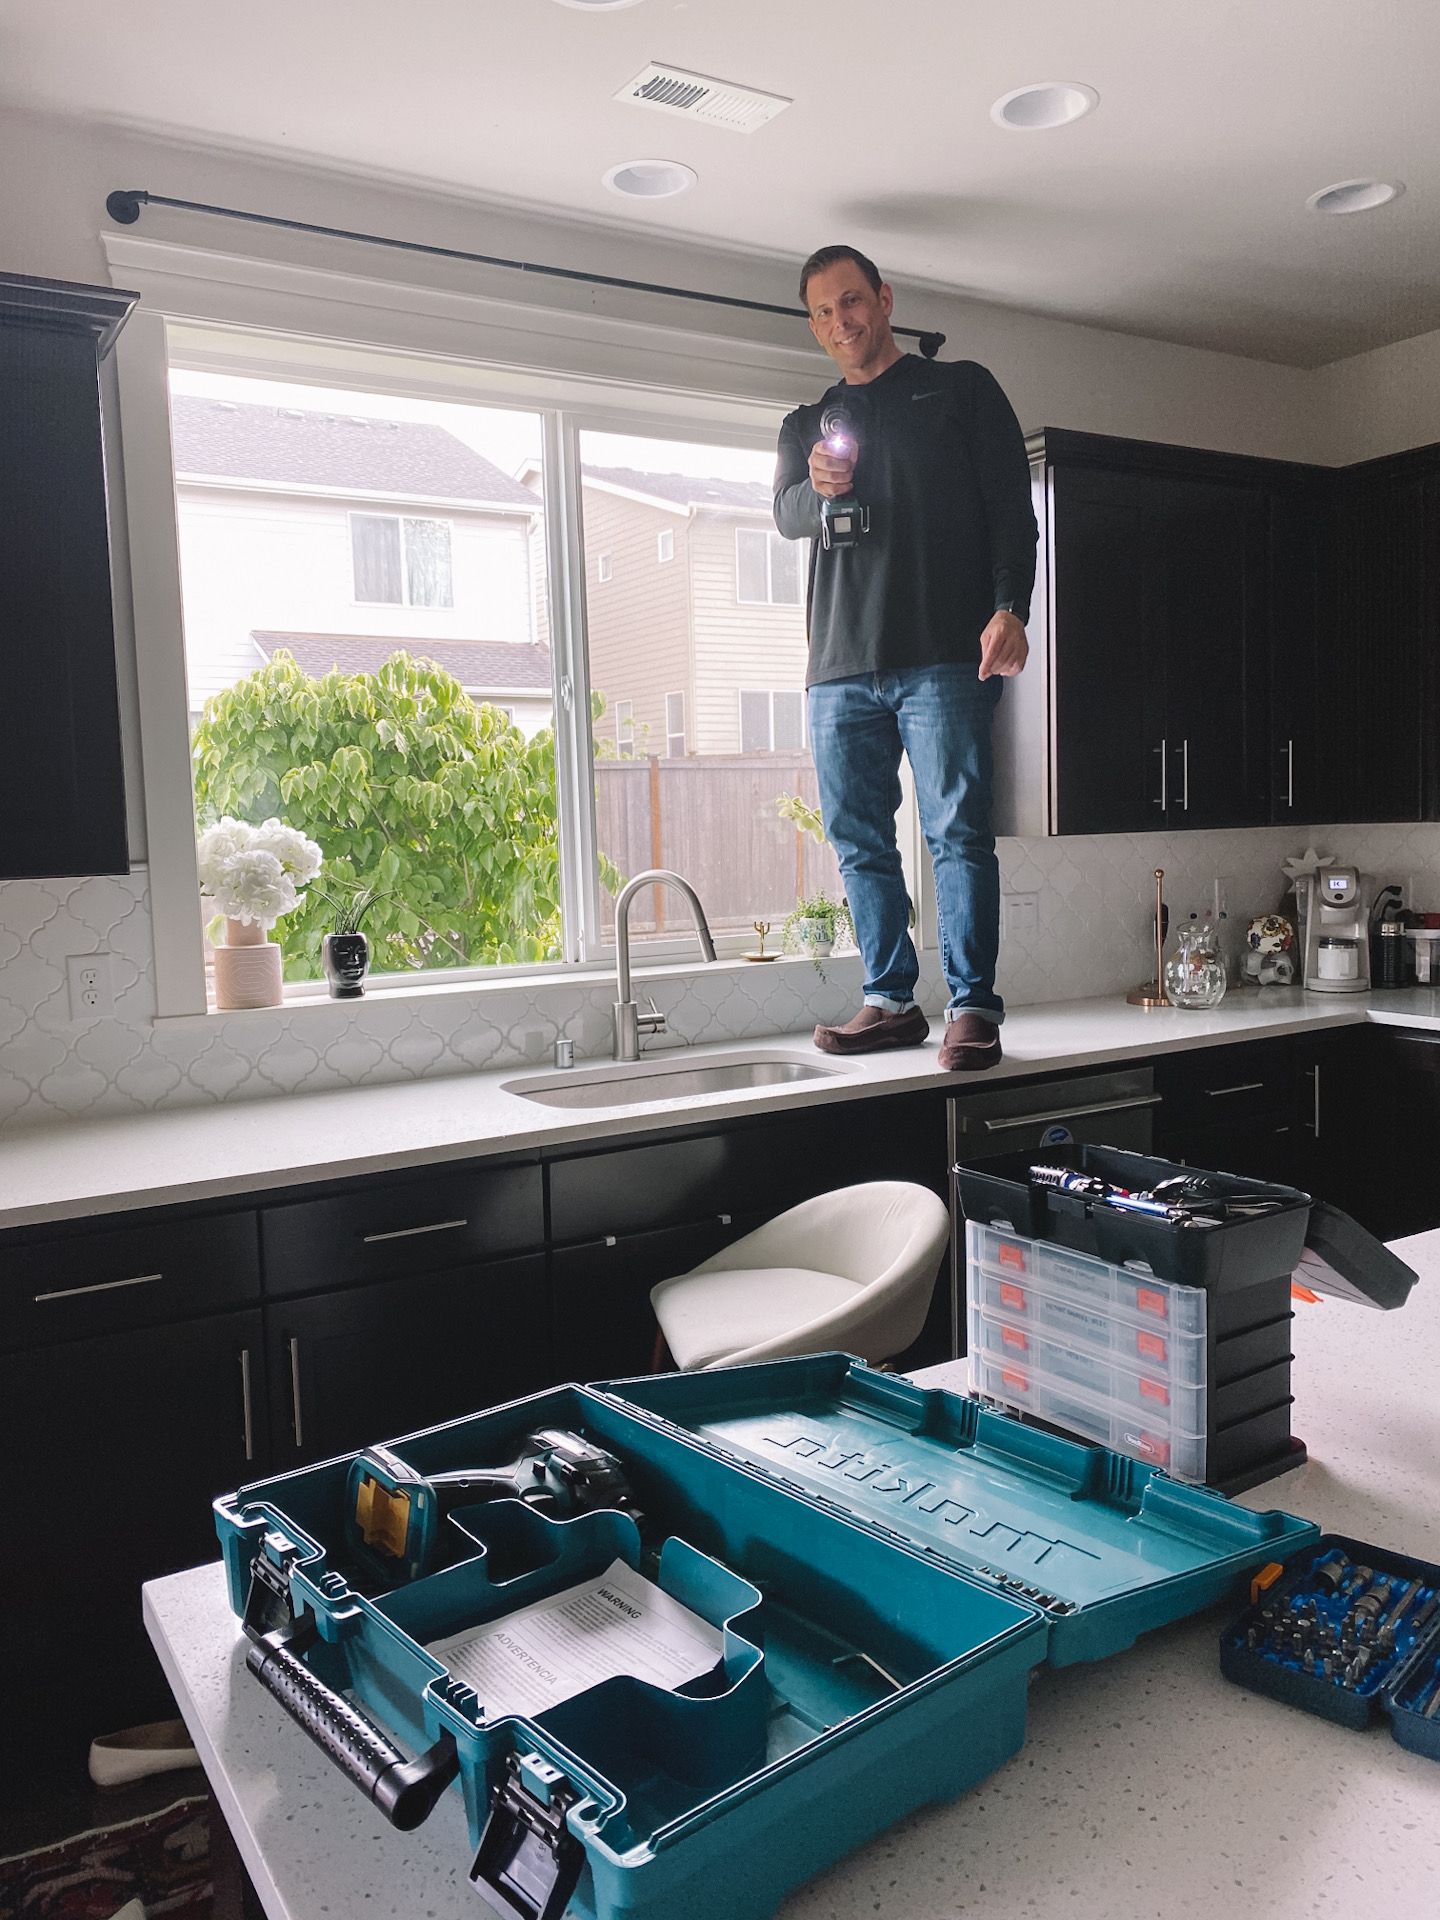
But before you get started on making your disco planter, make sure to check off...
Step 0: Have your hunny get started on setting up the rod above the window 🙂
Directions:
Step 1: Remove a row of mirrors
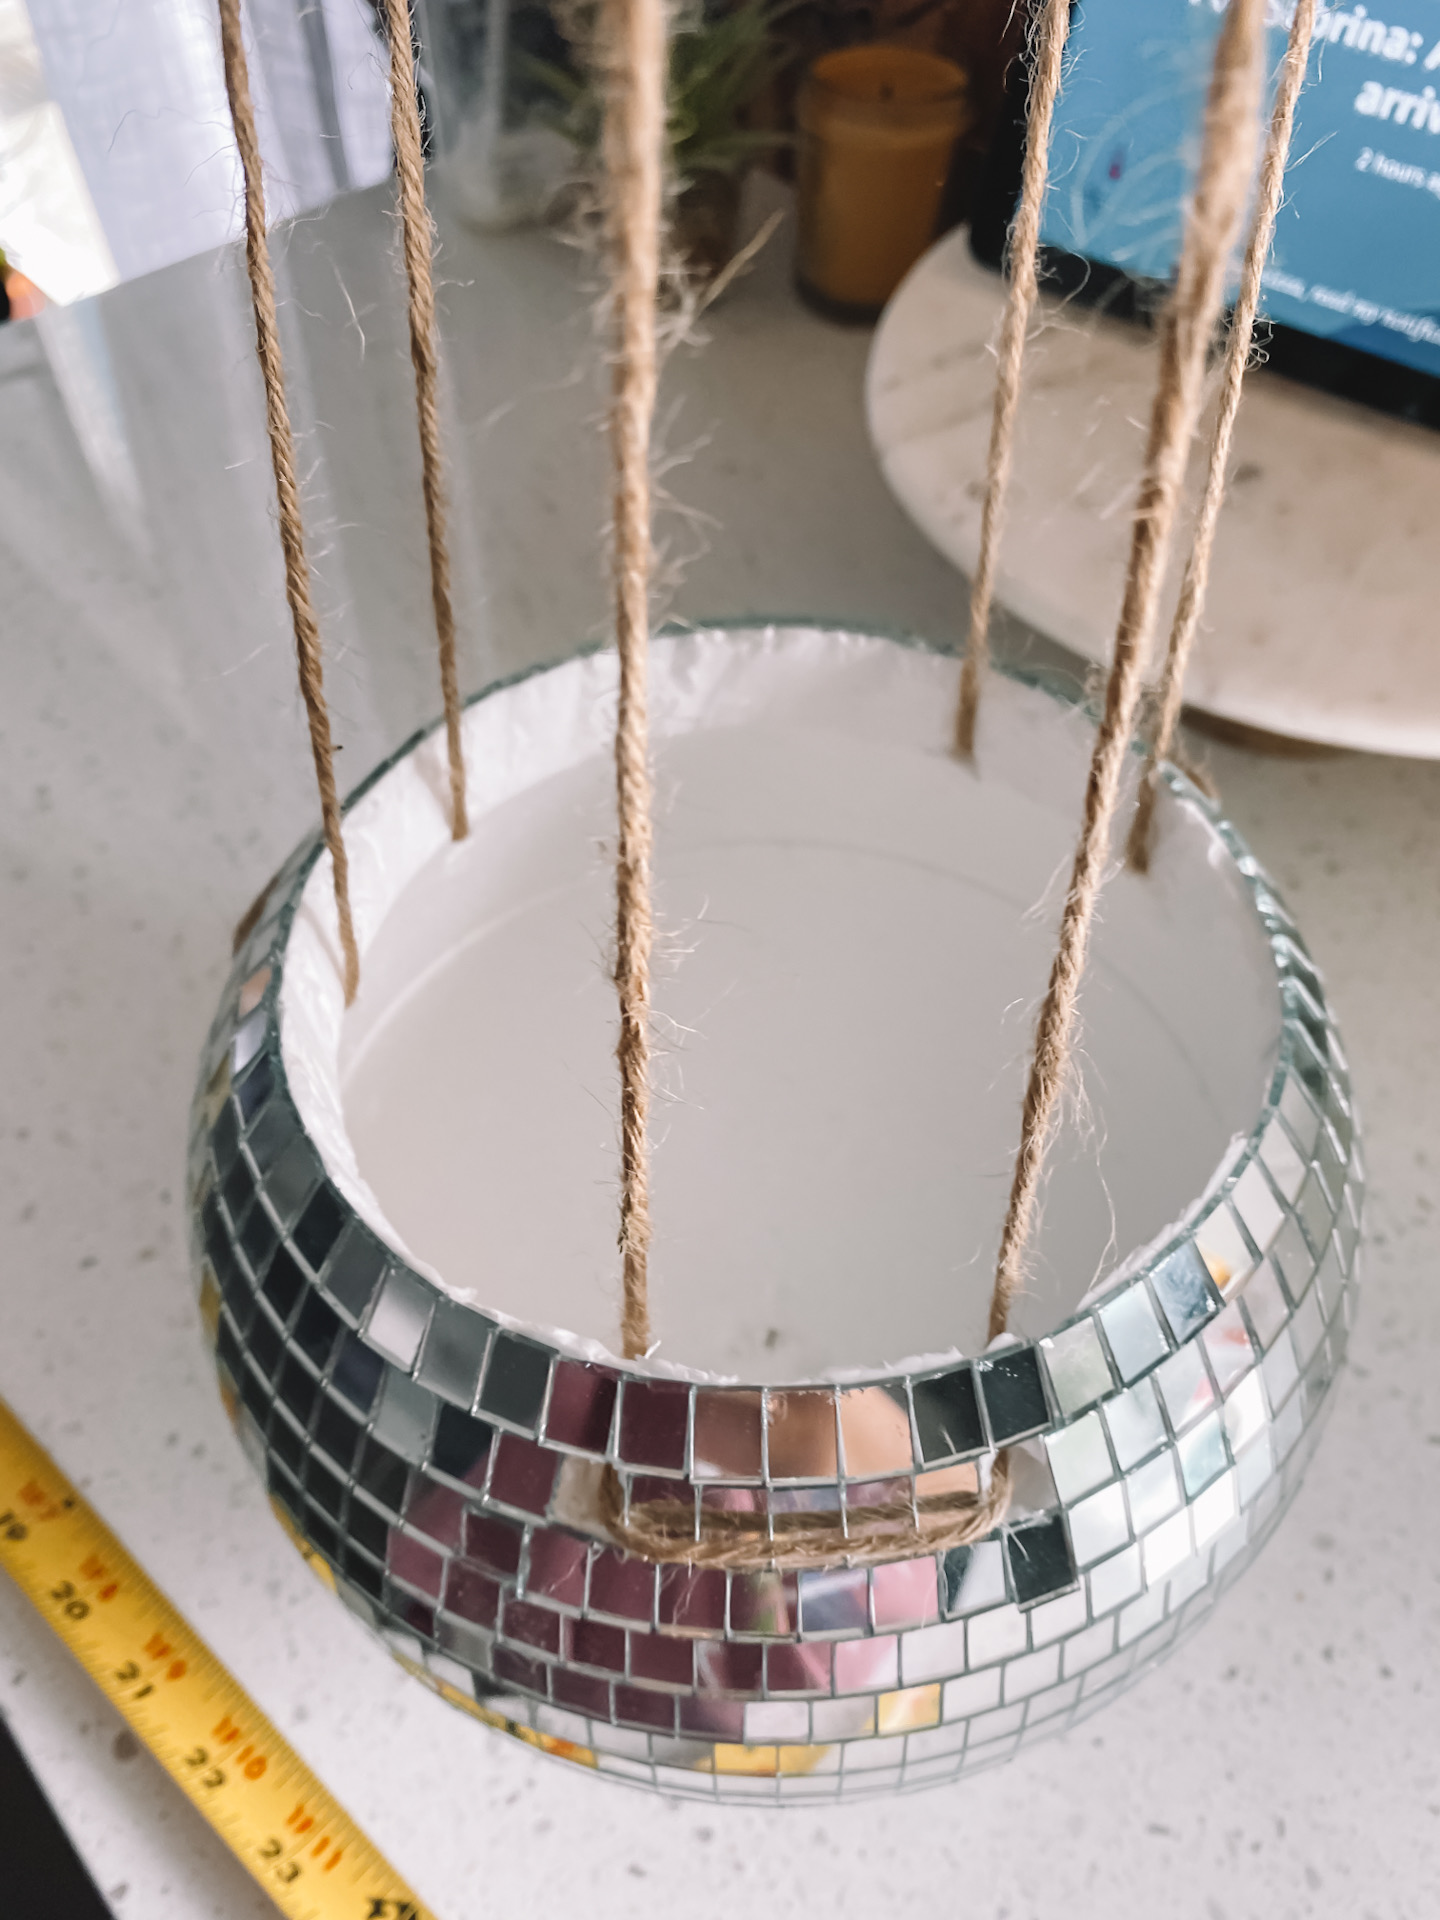
First, protect your hands with some gloves. Then with a craft knife carefully pry off a row of mirrors ⅓ of the way down the ball (or however low you’d like the planter opening)
Step 2: Cut
I used the utility knife to cut along the line where I removed the mirrors. The inside of my disco ball was styrofoam, and personally I absolutely haaaate that noise. But trust me—it’ll be worth it!
Step 3:
Find a spot on each side of the disco ball where you want to place the hanging string. Pry off a mirror on each side and use a drill to create holes large enough to thread the natural jute twine or cord through.
Step 4:
Insert your favorite plant—I went with a fake one, because its harder to reach the hanging plants for watering. You could probably use a real plant if you’re hanging them lower or using a plant that doesn’t need a lot of water.
And that’s it—now you have a super cute, DIY planter. Put together 80s glam+ a natural aesthetic, and a sunny day means a party in your kitchen…
Step 5:
Cue the groovy music and have a disco ball!
Thank you eBay for sponsoring this post! As always, all opinions are my own.
SHOP THE POST

© Sabrina tan
brand + web design by good on paper
